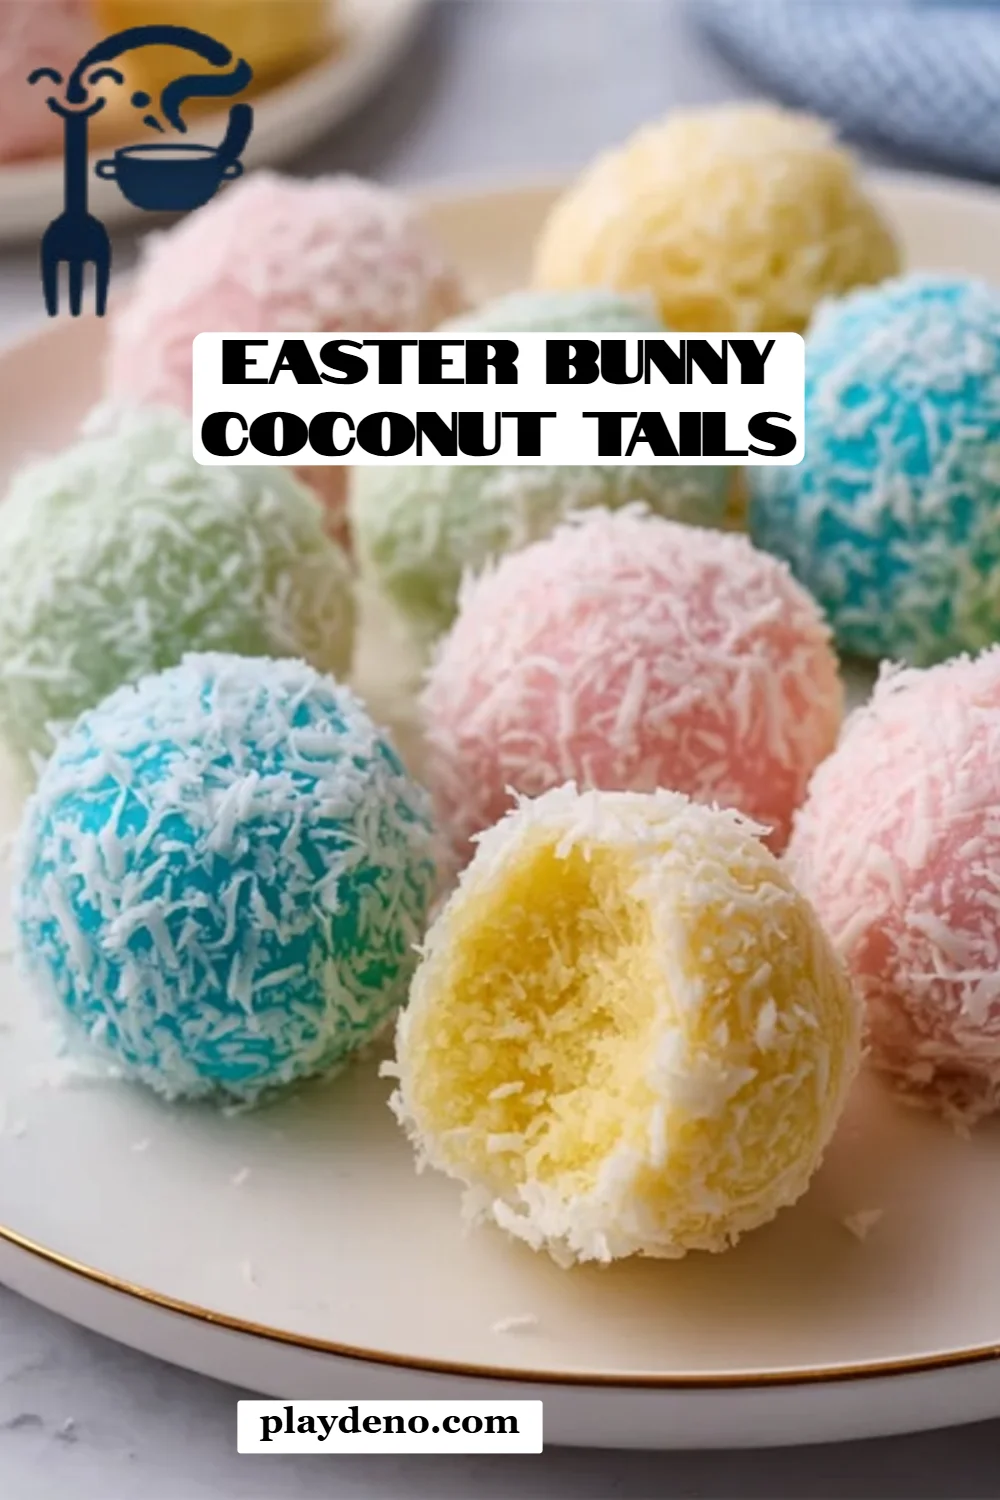
Irresistibly Delicious Easter Bunny Coconut Tails: A Sweet Spring Delight
Easter is a time filled with joy, family gatherings, and, of course, delightful treats that create lasting memories. As a passionate home baker, I have a soft spot for desserts that not only bring smiles but also evoke nostalgia—like the lovely Easter Bunny Coconut Tails. Picture this: a sunny afternoon, laughter fills the air, and the table is adorned with festive goodies. With these cute little coconut treats, you won’t just enjoy their delightful taste; you’ll also feel the warmth of family bonding over food.
What sets these Easter Bunny Coconut Tails apart? They are incredibly easy to make, allowing even the most novice baker to shine in the kitchen. Instead of spending hours on complicated desserts, this recipe promises a sweet reward in just a short time, making it a must-have for your Easter celebrations. Plus, they look adorable on any dessert table, just like tiny bunny tails!
Join me as I share this heartfelt recipe, perfect for anyone looking to create cherished moments with family or simply indulge in a delicious taste of spring. Get ready to learn how to whip up your own batch of Easter Bunny Coconut Tails that will have everyone asking for seconds!
What Are Easter Bunny Coconut Tails?
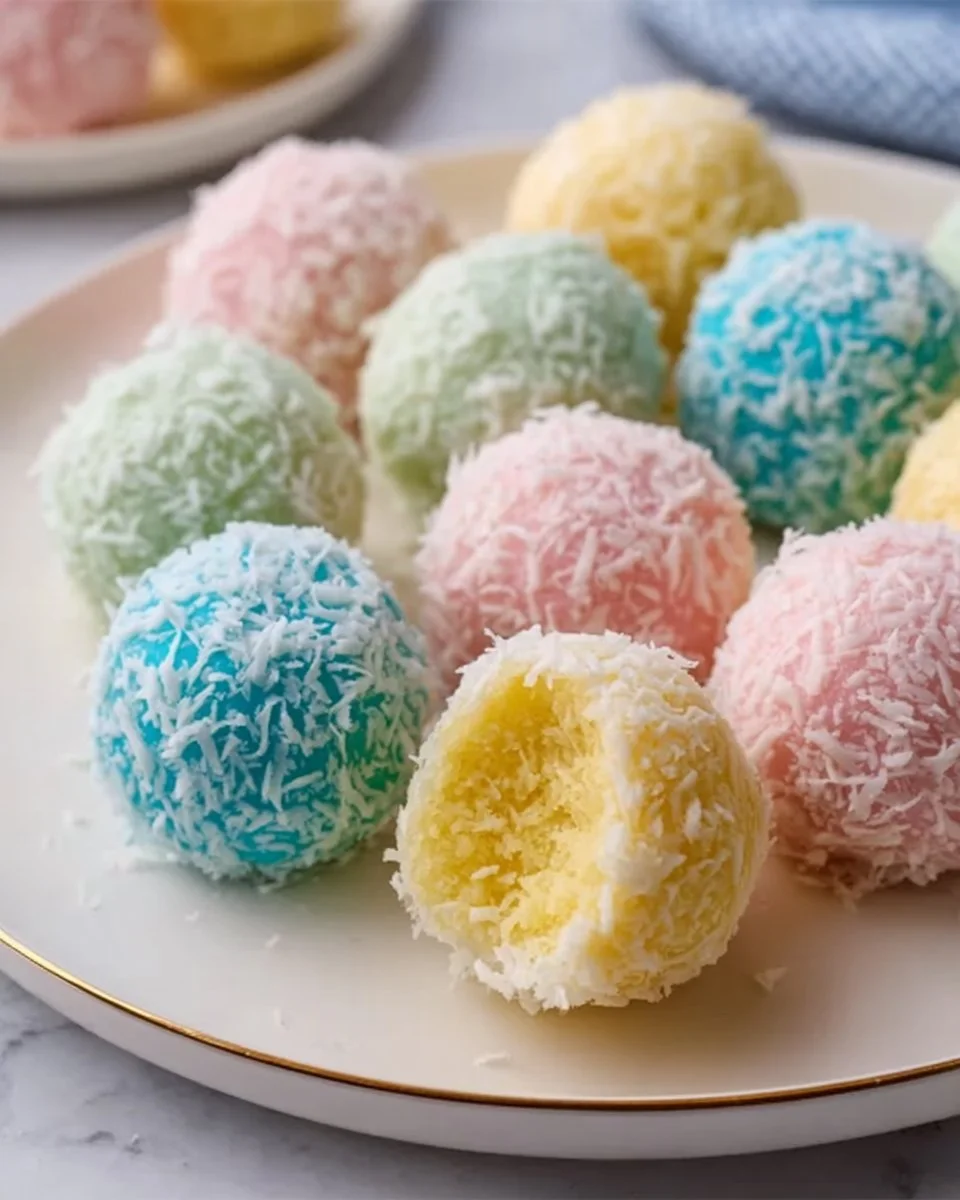
Easter Bunny Coconut Tails are charming bite-sized treats made from simple ingredients that blend together to create a delightful experience. Originating from the rich tradition of Easter baking, these coconut balls are not just visually appealing; they feature a chewy, satisfyingly sweet texture that melts in your mouth, making them a favorite for both kids and adults.
The unique aspect of these treats lies in their festive décor—coated in melted chocolate and topped with mini marshmallows, they resemble the fluffy tails of our favorite springtime bunny! Perfect for Easter celebrations, these coconut tails are a sweet delight for egg hunts, potlucks, or family gatherings. You can truly feel the spirit of spring with every bite!
Whether you’re whipping them up for a gathering or simply to share with family, Easter Bunny Coconut Tails are a deliciously fun way to celebrate this season of renewal.
Why You’ll Love This Recipe
Simplicity at Its Best: You don’t need to be a baking wizard to pull this off! The beauty of Easter Bunny Coconut Tails lies in their ease. With just six ingredients, you can create something spectacularly cute and yummy without breaking a sweat.
Cost-Effective Sweetness: Unlike overpriced store-bought treats, making these at home is incredibly budget-friendly. Most of the ingredients are pantry staples, and making them yourself means more bang for your buck!
Customization Galore: Want to switch up the flavors? No problem! You can easily add some lemon zest for a citrus kick or use dark chocolate for a richer flavor. The possibilities are endless.
Healthier Option: Unlike many processed desserts available at stores, you can control the quality of ingredients with this recipe. For example, use organic shredded coconut or make your own sweetened condensed milk for an even healthier twist!
Quick and Easy Prep Time: With just about one hour—30 minutes of prep and 30 minutes of chill time—you’ll have a delightful Easter dessert ready to impress your family and friends.
So, if you’re ready to elevate your Easter celebrations and create delightful memories, grab your mixing bowl and let’s dive into making these irresistible Easter Bunny Coconut Tails!
Ingredients
What You’ll Need
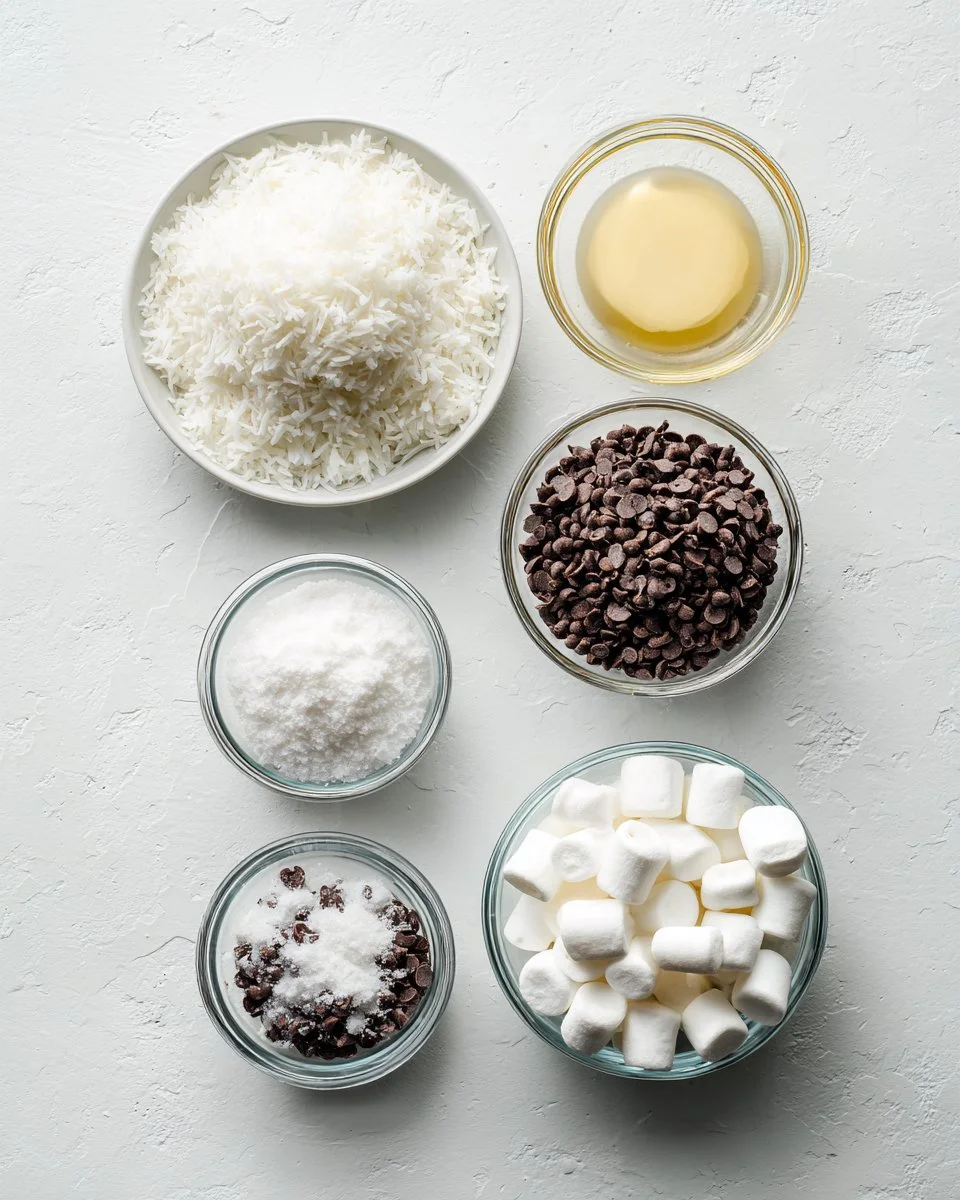
- 2 cups shredded coconut: Make sure it’s unsweetened for a balance of sweetness, or go for sweetened if you prefer it extra sugary.
- 1 cup sweetened condensed milk: This ingredient brings sweetness and moisture. Look for high-quality brands like Eagle Brand for the best result.
- 1 teaspoon vanilla extract: Choose pure vanilla for the most robust flavor; imitation vanilla will work in a pinch but won’t capture that lovely, rich essence.
- 1/2 cup powdered sugar: This adds a nice sweetness to the mix and helps in binding the ingredients.
- 1/4 cup chocolate chips (for decoration): Semi-sweet or dark chocolate works beautifully here. I love using Ghirardelli for a rich taste!
- Mini marshmallows (optional, for decoration): These are used to add that signature “bunny tail” look.
Prep Notes
- Ensure your sweetened condensed milk is at room temperature for easier mixing.
- Have your chocolate chips ready for melting as you prepare the coconut balls.
Step-by-Step Instructions
Mixing the Ingredients: In a large mixing bowl, combine the shredded coconut, sweetened condensed milk, vanilla extract, and powdered sugar until everything is well incorporated. The mixture should be sticky but manageable—think of it like a thick dough.
Forming the Balls: Use your hands to scoop out small amounts of the mixture and form them into balls about the size of a tablespoon. Place them onto a baking sheet lined with parchment paper.
Chill: Refrigerate the balls for about 30 minutes. This helps them firm up, making them easier to decorate later and preventing them from falling apart.
Decorate with Chocolate: Once firm, melt your chocolate chips in a microwave-safe bowl in 30-second intervals, stirring until smooth. Dip the tops of your coconut balls into the melted chocolate or drizzle it over them with a spoon for a playful look.
Add Bunny Tails: For a whimsical touch, stick mini marshmallows on top of each coconut ball to resemble bunny tails, securing them with a bit of melted chocolate if needed.
Chill and Serve: Return the decorated coconut tails to the refrigerator for another 15-20 minutes to set the chocolate. Once done, serve chilled and enjoy your festive Easter Bunny Coconut Tails!
Chef’s Tips
- Visual Cues: The mixture should hold a shape when rolled into a ball. If it’s too crumbly, add a touch more sweetened condensed milk.
- Avoid Common Mistakes: Ensure the coconut and milk mixture is well combined; otherwise, your tails might not have that perfect chewy texture.
Expert Tips & Tricks
- Storage: Keep your Easter Bunny Coconut Tails stored in an airtight container in the fridge. They can last up to a week—if they last that long!
- Make-Ahead: These treats can be made a day or two in advance, making them perfect for your holiday prep. Just do the decoration closer to serving time for the best presentation!
- Troubleshooting: If your chocolate gets too thick while working, simply reheat it gently. If condensation causes sugar to harden, a quick touch in the microwave should bring it back to life.
Serving Suggestions
These festive Easter Bunny Coconut Tails are heavenly on their own, but they shine even brighter when paired with a light fruit salad or a cup of coffee. For presentations, arrange them on a beautiful platter with some colorful Easter eggs or small flowers to add that extra festive flair. They make perfect additions to potlucks or family brunches, ensuring everyone leaves with a sweet smile.
Variations & Substitutions
Feel free to get creative with this recipe! Here are some fun options to consider:
- Flavors: Add a tablespoon of almond extract for a delightful twist or mix in some crushed pineapple for a tropical flavor.
- Dietary Adaptations: For a vegan version, substitute sweetened condensed milk with coconut cream and use dairy-free chocolate chips.
- Seasonal Variations: Swap out the chocolate for pastel-colored candy melts during spring for a vibrant look that’ll brighten up your dessert table!
Nutrition & Storage Info
- Prep Time: 30 minutes
- Chill Time: 30 minutes
- Total Time: 1 hour
- Yield: Approximately 24 servings
- Estimated Calories: About 110 calories per serving
- Storage Instructions: Keep in an airtight container in the fridge for up to a week or freeze for up to three months. Just be sure to separate them with parchment paper to prevent sticking!
FAQ Section
Can I make these gluten-free?
Yes, all the ingredients are naturally gluten-free.How should I store these?
Keep them in an airtight container in the refrigerator to maintain their freshness.Can I use fresh coconut?
You can! Just be sure to dry it out slightly before using, as fresh coconut contains moisture.What can I substitute for powdered sugar?
You might use granulated sugar, but it will be less sweet and might change the texture slightly.How long do these last?
Stored properly, Easter Bunny Coconut Tails will last up to a week in the fridge.Can I freeze these?
Yes, they freeze well! Just wrap them tightly to prevent freezer burn.Do I have to use mini marshmallows?
Not at all! You can skip them or use alternatives like chocolate bites or dried fruits.Can I make these ahead of time?
Yes, they’re perfect for make-ahead! Just save the décor for closer to serving time.Is there a nut-free version?
Absolutely! This recipe is naturally nut-free, but check all labels to ensure safe consumption.What other decorations can I use?
Feel free to use sprinkles or coconut shavings for extra flair!

Conclusion
These Easter Bunny Coconut Tails truly capture the essence of spring with their delightful taste and charming appearance. They are more than just a treat; they’re a way to create blissful memories with family and friends. I encourage you to give this recipe a try, and I’d love to hear your thoughts or any variations you try out!
Don’t forget to check out my other delightful spring recipes on the blog, like my luscious carrot cake or zesty lemon bars, perfect for your holiday table. Happy baking, and may your Easter be filled with joy and delicious treats!