Delightfully Sweet & Tart: Rhubarb Scones Recipe You’ll Love!
Ah, rhubarb scones—a treat that has become a cherished family favorite in our home! I’ll never forget the first time I tasted them. My Aunt Marge would whip them up every spring, their warm, buttery aroma wafting through her cozy kitchen. The combination of sweet and tangy from fresh rhubarb was sheer magic, igniting memories of sunny afternoons spent laughing with family.
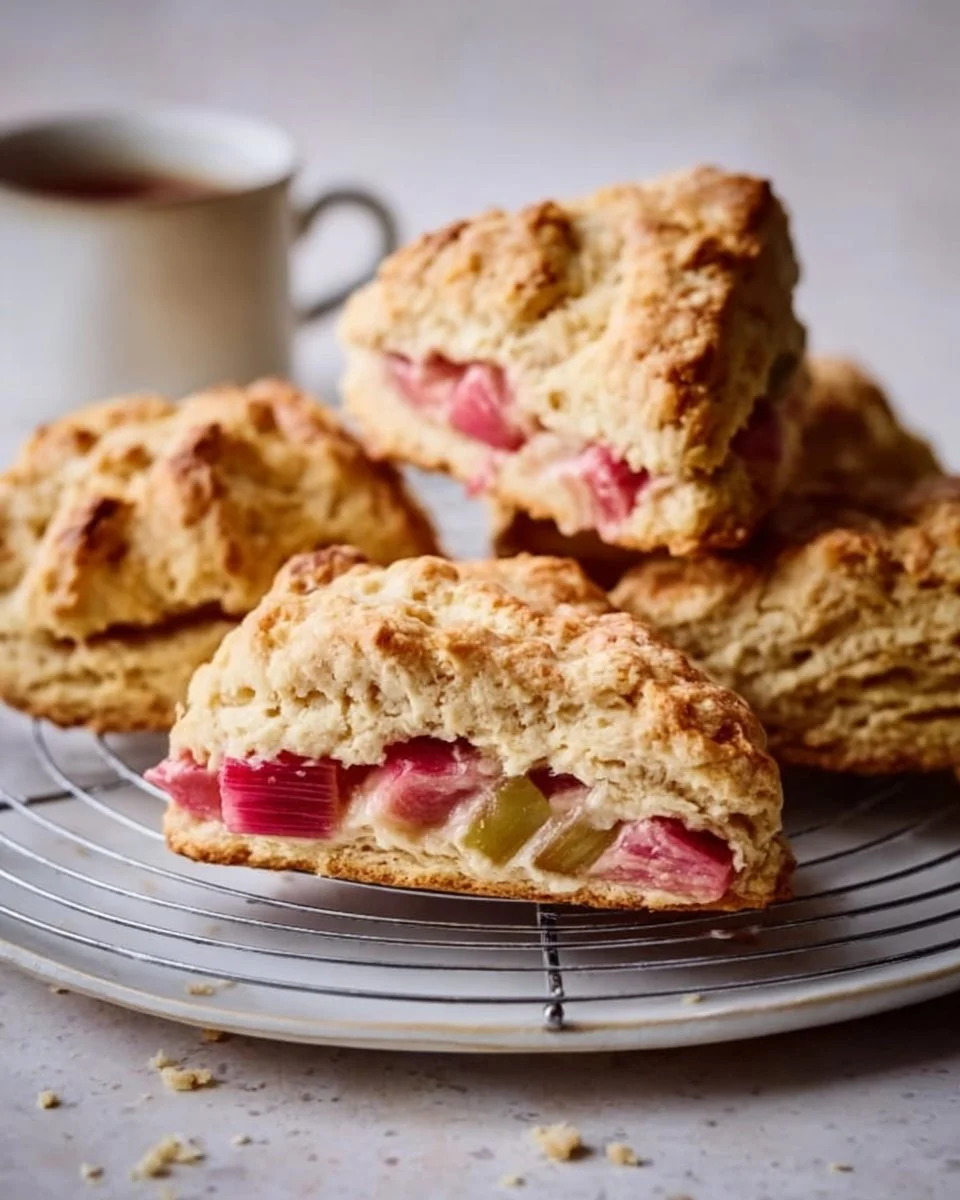
What makes my rhubarb scones stand out is not just the delightful flavor but also the texture—crisp on the outside, tender and flaky on the inside, just as a perfect scone should be. Unlike the store-bought versions that can often be overly dry or overly sweet, my scone recipe strikes the perfect balance. It’s a labor of love that brings people together around the table, sharing stories and savoring every bite.
In this post, I’ll guide you through the process of creating these scrumptious rhubarb scones, sharing tips that ensure you’ll nail the recipe on your first try. Prepare to fall in love with not just the scones, but also the memories you’ll create while baking them!
What Are Rhubarb Scones?
Rhubarb scones have roots in British culinary traditions, where they are often enjoyed during afternoon tea. This delightful pastry is a perfect blend of flaky dough and slightly tart rhubarb pieces, enhanced by a hint of sweetness. They are unique due to their perfect contrast of flavors—sweetness from the sugar combined with the tangy punch of the rhubarb.
The texture is what sets them apart; light and fluffy on the inside with a crisp exterior that begs to be broken with the touch of your fingers. They’re ideal for spring and early summer when rhubarb is in season, making them the perfect treat for brunch gatherings, picnics, or even a cozy night in with a cup of tea.
Why You’ll Love This Recipe
Homemade Goodness: There’s something incredibly satisfying about whipping up your own baked goods. These scones will taste fresher and more genuine than any store-bought alternatives, leaving you feeling like a pastry chef from the comfort of your kitchen.
Cost-Effective: Why spend nearly $4 on a scone from a café when you can create a dozen at home for a fraction of the price? All you’ll need is a handful of ingredients, most of which you likely already have in your pantry!
Customization Options: Not everyone has the same taste buds. Want to add some poppy seeds, swap in a little almond flour, or go nuts and throw in some chocolate chunks? The possibilities are endless, allowing you to tailor these scones to your liking.
Easy to Make: You don’t have to be a baking expert to get these right. If you can mix, roll, and cut, you can make scones! They also come together in about 30 minutes—perfect for those sudden craving emergencies.
Perfect for Any Occasion: Whether it’s a spring tea party or a simple family breakfast, these rhubarb scones shine brightly on any table. You’ll impress friends and family with your baking prowess, sparking smiles and joy with every bite!

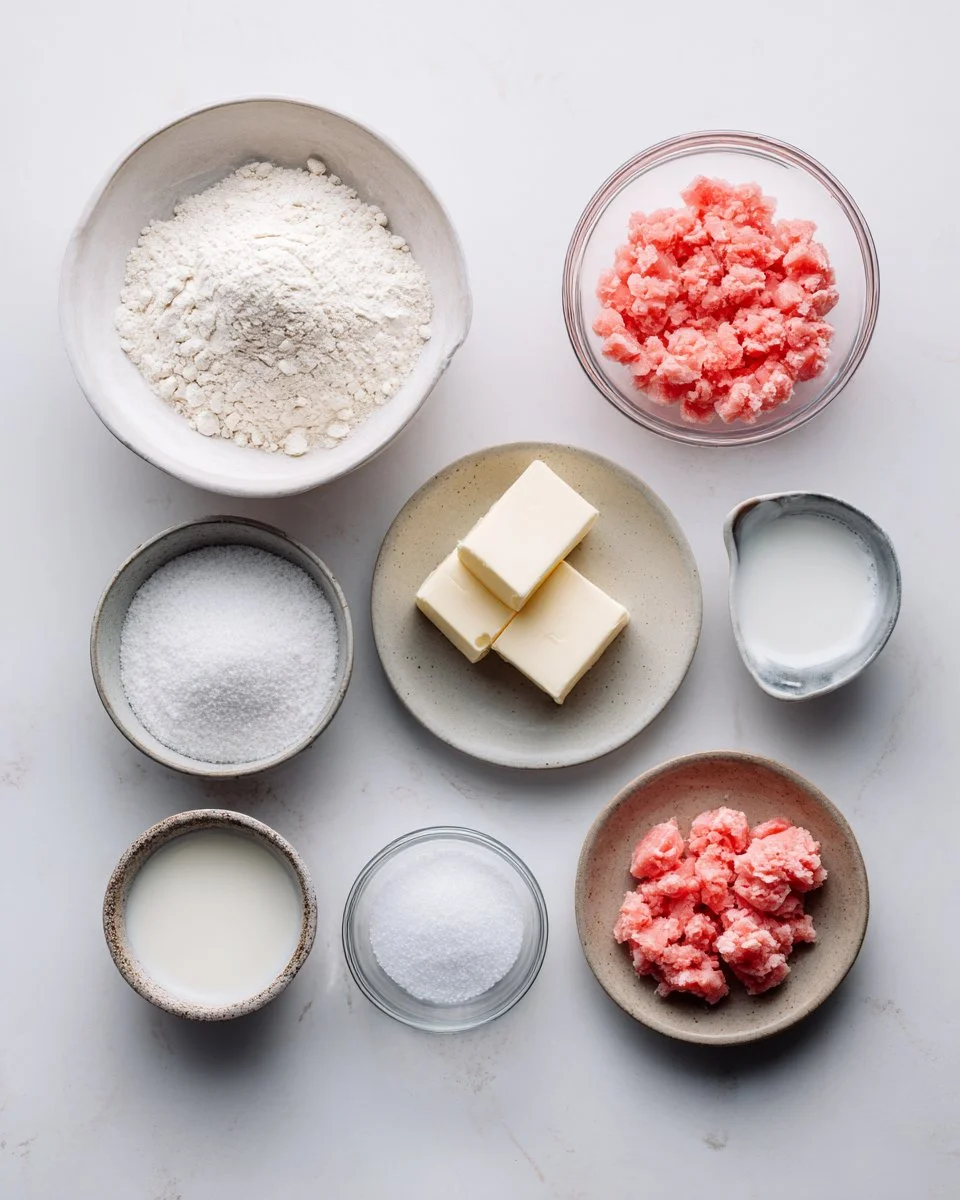
Ingredients
2 cups all-purpose flour
- Use high-quality flour for the best results. I personally recommend King Arthur Flour for its consistency and reliability.
1/4 cup granulated sugar
- You may substitute this with coconut sugar for a healthier twist.
1 tablespoon baking powder
- Ensures that the scones rise properly.
1/2 teaspoon salt
- Enhances the flavors beautifully.
1/2 cup cold unsalted butter, cubed
- Make sure it’s cold—this will create those lovely flaky layers. You can use Kerrygold for an excellent buttery flavor.
1 cup fresh rhubarb, chopped
- Make sure to use tart, fresh rhubarb. Frozen rhubarb can work too but may alter the texture.
3/4 cup buttermilk
- You can also create a buttermilk substitute by mixing milk with a tablespoon of vinegar.
1 teaspoon vanilla extract
- This is where the magic happens. Use pure vanilla extract for the best flavor.
Optional: Additional sugar for topping
- Sprinkle it on before baking for an extra sweet touch.
Prep notes: Make sure to have your butter cold and cut into cubes for the best texture when cutting into the flour mixture.
Step-by-Step Instructions
Preheat the Oven: Begin by preheating your oven to 400°F (200°C). Line a baking sheet with parchment paper for easy clean-up.
Prepare Dry Ingredients: In a large bowl, whisk together the 2 cups of all-purpose flour, 1/4 cup granulated sugar, 1 tablespoon baking powder, and 1/2 teaspoon salt until well combined.
Cut in the Butter: Add in your cubed, cold butter. Using a pastry cutter or your fingertips, cut the butter into the flour mixture until it resembles coarse crumbs—about the size of peas. Be careful not to overwork it!
Add the Rhubarb: Gently fold in the chopped rhubarb, taking care to keep the mixture light and fluffy.
Mix Wet Ingredients: In a separate bowl, whisk together the 3/4 cup buttermilk and 1 teaspoon vanilla extract until blended.
Combine: Pour the buttermilk mixture into the dry ingredients. Mix gently until just combined—don’t overmix or your scones may become tough!
Shape the Dough: Transfer the dough onto a floured surface. Gently knead it just a few times—about 4-5 folds until it holds together—then pat it into a circle about 1 inch thick.
Cut the Scones: Using a sharp knife, cut the dough into wedges (like a pizza) and place them on your prepared baking sheet.
Add Sugar Topping: If you’d like, sprinkle a little extra sugar on top of each scone for added sweetness and a beautiful finish.
Bake: Pop them in the oven for 15-20 minutes. You’ll know they’re done when they’re golden brown and a toothpick inserted comes out clean.
Cool and Enjoy: Allow the scones to cool slightly before serving, and then dive in while they’re still warm, perhaps with a dab of butter or a spread of your choice.
Chef’s Tips:
- For an extra rich flavor, consider brushing the tops with a little cream before baking.
- Avoid over-mixing the dough, as it can lead to tough scones—gently is the key!
Expert Tips & Tricks
Flour Measurement: Be sure to spoon your flour into the measuring cup and level it off. Scooping directly can lead to packing, resulting in dry scones.
Using Frozen Rhubarb: If using frozen rhubarb, do not thaw it. Just fold it straight into the mixture; this helps maintain its shape and texture.
Storage: Keep your scones fresh by storing them in an airtight container. They’re best enjoyed within 2 days at room temperature, but they can last for up to a week in the fridge.
Make Ahead: You can prepare the dough and refrigerate for up to 24 hours before baking. Just make sure to let it sit for 10-15 minutes at room temperature before cutting and baking.
Common Mistakes: Watch for adding too much flour, as that can make your scones dense. A light touch is the way to go!
Troubleshooting: If your scones are too crumbly, it might be that you’ve worked the dough too much or not added enough liquid. Add a bit more buttermilk if needed!
Serving Suggestions
These rhubarb scones are delightful on their own, but why not elevate the experience? Serve them with a side of clotted cream and fresh strawberries for a truly decadent treat. They also pair wonderfully with a hot cup of tea—the perfect afternoon pick-me-up! Present them on a lovely cake stand for a touch of elegance, making them stellar for brunch occasions or tea parties.
Variations & Substitutions
- Fruit Combinations: Try mixing strawberries with rhubarb for a sweeter twist or add blueberries for a burst of flavor.
- Diet Options: For a dairy-free option, use almond milk and coconut oil instead of buttermilk and butter. Those with nut allergies can go for oat milk and any neutral oil.
- Seasonal Flavors: As the seasons change, consider using seasonal fruits; peaches or cherries in summer or cranberries in fall will add delightful variations to your scone!
Nutrition & Storage Info
- Prep Time: 10 minutes
- Cook Time: 15-20 minutes
- Total Time: 30-35 minutes
- Yield: Approximately 12 scones
- Estimated Calories: 180 calories per serving (1 scone)
- Storage: Store at room temperature in an airtight container for up to 2 days, or refrigerate for about a week. For longer storage, freeze them for up to 2 months.
FAQ Section
Can I substitute rhubarb with another fruit?
- Yes! While rhubarb is traditionally used, fruits like strawberries, blueberries, or even apples work wonderfully in scones.
What if I don’t have buttermilk?
- You can easily make a substitute by adding 1 tablespoon of lemon juice or vinegar to regular milk, letting it sit for about 5 minutes.
How do I know when my scones are done?
- You’ll know they’re done when they’re golden brown on top and a toothpick inserted in the center comes out clean.
Can I make these scones ahead of time?
- Absolutely! You can make the dough ahead and store it in the fridge. Just bake them fresh when you’re ready to enjoy!
What’s the best way to reheat leftover scones?
- Warm them in a 350°F (175°C) oven for about 5 minutes. This will revive their flaky texture.
Can I freeze rhubarb scones?
- Yes! You can freeze baked scones or even freeze the dough. Just make sure to wrap them well.
Are rhubarb scones sweet or savory?
- They are slightly sweet with a wonderful tartness from the rhubarb, making them a delightful treat for any palate.
How can I make my scones rise more?
- Ensure your baking powder is fresh for maximum rise, and don’t overwork your dough to maintain airiness.
What should I serve with my scones?
- They’re fantastic on their own but can be served with clotted cream, butter, jam, or even a warm cup of tea!
What’s the most important tip for making perfect scones?
- The key is to handle the dough as little as possible. Less is more when it comes to mixing!
Conclusion
Rhubarb scones hold a special place in my heart, and I guarantee they will become a delightful addition to your kitchen traditions as well. They are the perfect blend of tender, flaky goodness and sweet-tart flavor—a wonderful homage to spring.
I encourage you to give this recipe a try; it could become a new favorite for you and your loved ones. Let me know how your scones turn out—I’d love to hear your feedback or any tweaks you made! And if you enjoyed this recipe, don’t forget to check out my other blog posts, where you’ll find plenty more delicious baking adventures waiting for you!
Happy baking!