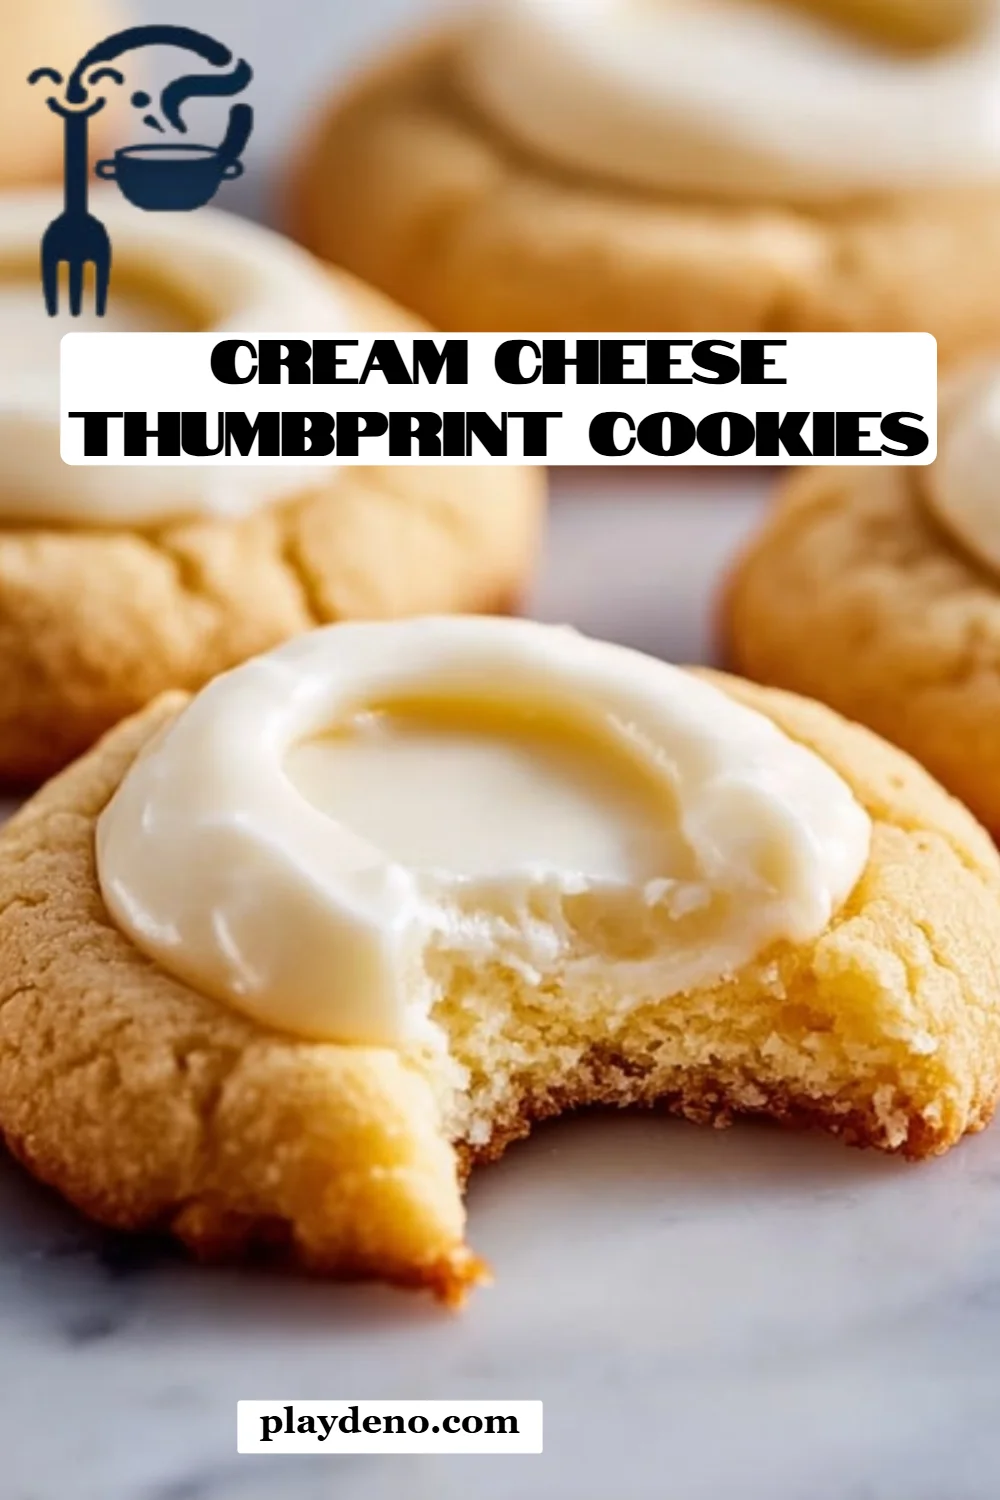
Irresistible Cream Cheese Thumbprint Cookies: The Ultimate Comfort Treat
Picture this: it’s a rainy Saturday afternoon, and the smell of freshly baked cookies wafts through the house, wrapping you in a warm hug of comfort. That’s exactly what my childhood weekends were like, especially when my grandmother brought out her famous Cream Cheese Thumbprint Cookies. Each bite was a delightful combination of creamy richness and sweet, fruity jam that sparks joy in the heart.
Not all thumbprint cookies are created equal, though! What makes my version so special is the delightful balance of cream cheese that gives them a unique, melt-in-your-mouth texture combined with the tangy sweetness of the jam filling. These cookies aren’t just a treat; they’re a way to relive cherished moments and inspire generations to create more sweet memories together.
In this post, I promise to share my favorite recipe so you too can indulge in these absolutely irresistible Cream Cheese Thumbprint Cookies. You’ll learn how to make them perfectly from scratch, customizable to suit your taste preferences. Let’s gather those ingredients and make some memories!
What Are Cream Cheese Thumbprint Cookies?
Cream Cheese Thumbprint Cookies have a simple yet enchanting origin, often traced back to traditional European baking practices where cookies were filled with fruit preserves. These cookies stand out due to the addition of cream cheese in the dough, creating an incredibly tender texture that’s almost cakey yet still holds its shape.
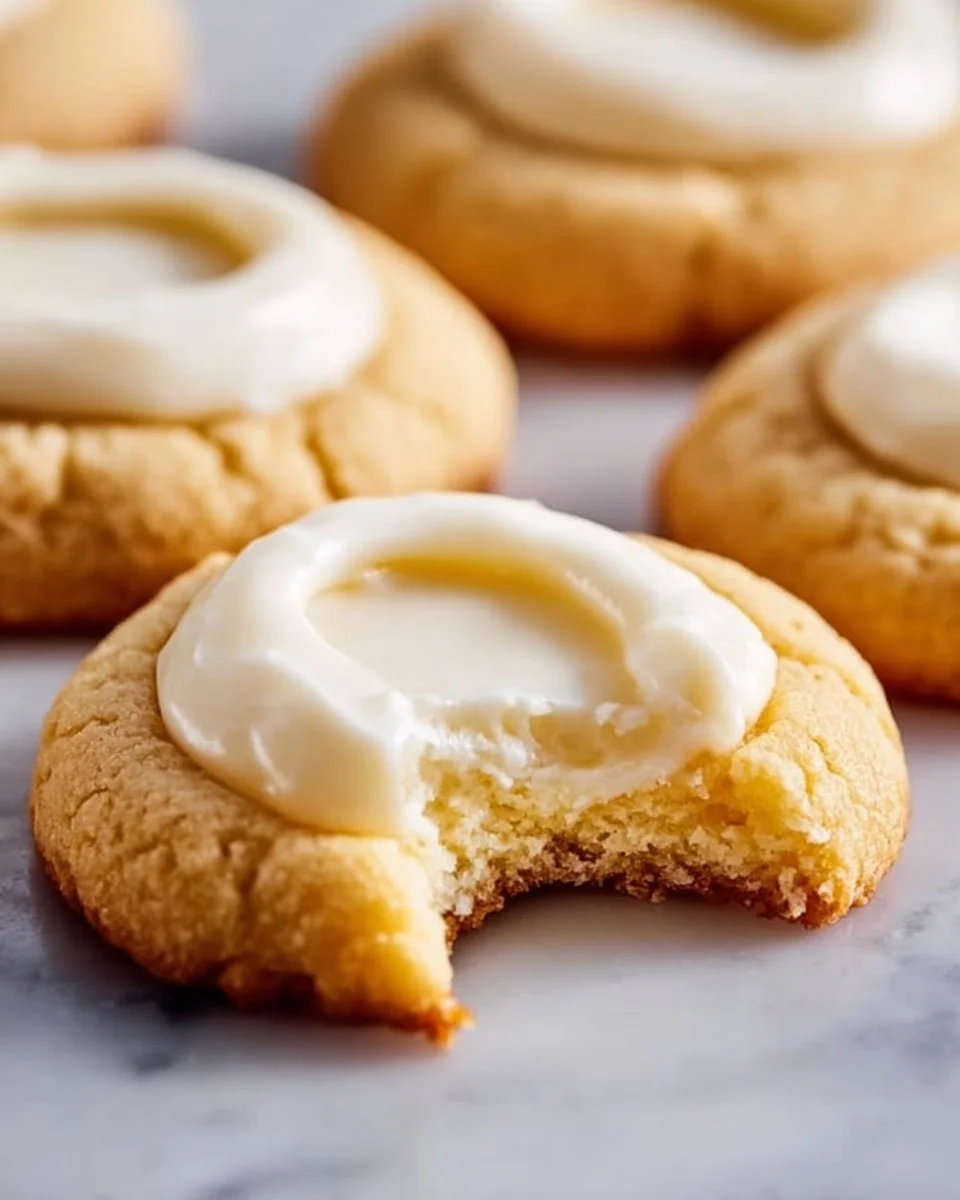
Imagine the perfect bite: buttery richness from the cream cheese and a satisfying snap from the edges, giving way to a soft center that is lovingly cradled by a dollop of sweet jam. You can enjoy them year-round, whether it’s for holiday gatherings, casual afternoon tea, or just a sweet treat to brighten your day.
They’re not just cookies; they’re nostalgia on a plate, offering both simplicity and depth in flavor, perfect for sharing with family or savoring alone while you cozy up with your favorite book.
Why You’ll Love This Recipe
Unique Creaminess: The cream cheese elevates the cookie far beyond your average thumbprint recipe. The texture is light yet luscious, offering a delightful bite that practically melts in your mouth.
Customization Galore: From raspberry to apricot, you can fill your thumbprints with a variety of jams or even chocolate ganache! This allows you to tailor them to suit any occasion or palate.
Cost-Effective: Unlike fancy bakery versions, crafting these at home can save you quite a bit without sacrificing flavor or quality. When you can whip up a dozen for the price of one at a café, why wouldn’t you?
Quick and Easy: This recipe is simple, requiring only around 30 minutes of hands-on time. Plus, they bake up in just 12-15 minutes, making it a fabulous option for unexpected guests or last-minute gatherings.
Straightforward for Beginners: Even if you’re new to baking, you’ll find this recipe to be approachable and forgiving! With just a few tips, you’ll be a thumbprint cookie master in no time.
Ingredients
To make these delightful Cream Cheese Thumbprint Cookies, gather the following ingredients:
- 2 cups all-purpose flour (Use a high-quality brand like King Arthur Flour for best results)
- 1/2 teaspoon baking powder (Make sure it’s fresh for the best rise)
- 1/4 teaspoon salt (Enhances the flavors)
- 1/2 cup unsalted butter, softened (Room temperature for easy creaming)
- 1/2 cup cream cheese, softened (I recommend Philadelphia for the creamiest texture)
- 3/4 cup granulated sugar (Adjust to taste; you can use half brown sugar for more depth)
- 1 teaspoon vanilla extract (Use pure vanilla for a richer flavor)
- 1 egg yolk (Adds richness and moisture)
- Jam or preserves for filling (Choose your favorite flavor!)
Prep Notes: Make sure your butter and cream cheese are at room temperature to ensure they blend smoothly and create that beautiful fluffy texture.
Step-by-Step Instructions
Preheat Your Oven: Start by preheating your oven to 350°F (175°C) to ensure even baking from the get-go.
Mix Dry Ingredients: In a bowl, whisk together the flour, baking powder, and salt until well combined and fluffy.
Cream Together the Butter and Cream Cheese: In a separate bowl, cream together the softened butter, cream cheese, and sugar until the mixture is light and fluffy—about 3-5 minutes. You’ll know it’s ready when it looks pale and airy!
Add Wet Ingredients: Beat in the egg yolk and vanilla extract into your creamy butter mixture until well incorporated.
Combine Dry & Wet Mixtures: Gradually add the dry ingredients to the wet mixture, mixing until just combined. Be cautious not to overmix; we want to keep that wonderful texture!
Shape the Cookies: Scoop tablespoon-sized balls of dough and place them on a baking sheet lined with parchment paper—give them some space to spread.
Create Indentations: Using your thumb (or the back of a spoon), create a small, deep indentation in the center of each cookie.
Fill with Jam: Generously fill each indentation with your choice of jam or preserves—don’t be shy!
Bake: Pop them into your preheated oven and bake for 12-15 minutes, or until the edges are lightly golden.
Cool Down: Allow the cookies to cool on the baking sheet for a few minutes before transferring them to a wire rack to cool completely.
Optional Decoration: If you feel fancy, drizzle a simple icing over the top once cooled. Just whisk together powdered sugar and a splash of milk until you reach your desired consistency.
Expert Tips & Tricks
Chill the Dough: If your dough is too soft to handle, pop it in the fridge for 30 minutes to firm it up.
Storage: These cookies can be stored in an airtight container at room temperature for up to one week.
Make-Ahead: Freeze unbaked dough balls on a baking sheet, then transfer to a bag. When you’re ready, bake straight from the freezer—just add a couple of minutes to the baking time!
Troubleshooting: If your cookies spread too much, double-check that your butter was adequately softened—if it’s too melty, they may lose their shape.
Classic or Creative: Experiment with different fillings! A chocolate-hazelnut spread, lemon curd, or even peanut butter can be delightful substitutes.
Serving Suggestions
These Cream Cheese Thumbprint Cookies are perfect on their own, but I love serving them alongside a warm cup of tea or coffee for a cozy afternoon snack. For gatherings, stack them on a cake stand and dress them up with fresh berries for a touch of elegance. They also make wonderful holiday gifts, especially when packaged beautifully in a cookie tin.
Variations & Substitutions
Jam Variations: Don’t just stick to strawberry or apricot! Consider trying a zesty lemon curd or a rich chocolate ganache for a decadent twist.
Gluten-Free Option: Utilize a 1:1 gluten-free baking flour blend in place of all-purpose flour.
Vegan Version: Replace the butter with a vegan counterpart and use a flax egg (1 tbsp ground flaxseed mixed with 3 tbsp water) instead of the egg yolk.
Seasonal Flairs: Add spices like cinnamon or pumpkin spice during fall, or infuse the dough with lemon zest for a refreshing spring flavor!
Nutrition & Storage Info
- Prep Time: 20 minutes
- Cook Time: 12-15 minutes
- Total Time: ~35 minutes
- Yield: About 24 cookies
- Estimated Calories per Cookie: 80-100 calories (depends on the filling used)
- Storage: Store at room temperature for up to 1 week, in the fridge for up to 2 weeks, or freeze for up to 3 months.
FAQ Section
Can I use low-fat cream cheese?
- Yes! But keep in mind that it may slightly alter the texture of the cookies.
How do I prevent the cookies from spreading?
- Make sure your butter is softened instead of melted, and consider chilling the dough before baking.
Can I add nuts to the recipe?
- Absolutely! Chopped nuts can add a nice crunch; just sprinkle some into the dough or on top before baking.
Do I need to use parchment paper?
- While it’s not strictly necessary, parchment paper helps prevent sticking and makes for easy clean-up.
How can I tell when they’re done baking?
- Look for the edges turning a light golden brown, while the centers may appear slightly soft.
What’s the best way to fill the cookies with jam?
- Use a teaspoon to carefully fill each indentation and don’t overfill to prevent overflow during baking.
Can I change the amount of sugar?
- Definitely! Adjust the sugar to suit your taste, but keep in mind that doing so may affect the overall texture.
Are these cookies suitable for freezing?
- Yes! Just freeze the unbaked dough balls, and they can be baked straight from the freezer.
What’s the best way to store them?
- Keep them in an airtight container. If they’re too soft, consider layering parchment paper between cookies.
Can I transform these into a bar cookie?
- Sure! Just press the dough into a greased baking pan, create the indentations, fill with jam, and bake.
Conclusion
Cream Cheese Thumbprint Cookies are more than just a delicious treat; they’re a canvas for memories, comfort, and creativity in the kitchen. Whether you’re sharing them with loved ones or enjoying them solo with a cup of tea, these cookies are sure to bring a smile to your face.
I encourage you to roll up your sleeves, give this recipe a try, and create your own version of this classic treat. I’d love to hear how your cookies turned out and any twist you put on them! Don’t forget—if you enjoyed this recipe, check out more of my baking adventures on the blog. Happy baking!