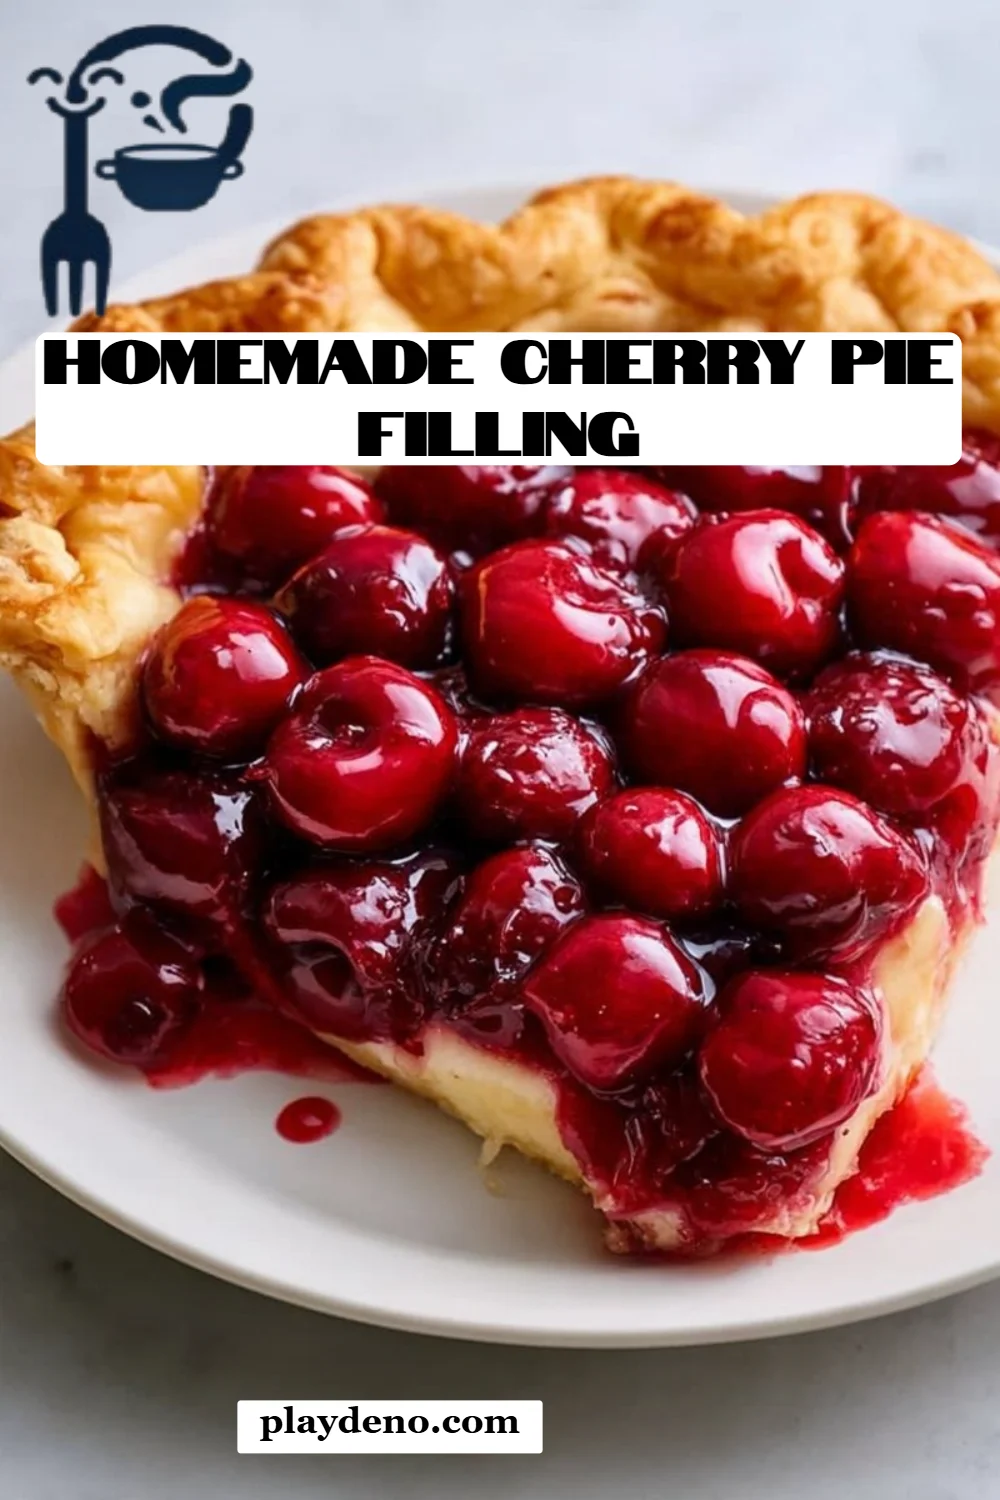
Irresistible Homemade Cherry Pie Filling: The Secret to Grandma’s Favorite Dessert
INTRODUCTION
I still remember the first time I stepped into my grandma’s kitchen, the sweet, tart aroma of cherries filling the air like a warm hug. It was summer, and the backyard trees were heavy with ripe cherries, each one calling out to be transformed into her legendary Homemade Cherry Pie Filling. This wasn’t just a recipe; it was a cherished family tradition, one that brought together laughter and love, along with a sprinkle of flour.
What makes this Homemade Cherry Pie Filling so special? For starters, it’s brimming with juicy, fresh cherries that dance on your taste buds, complemented by just the right amount of sweetness and acidity. Unlike store-bought versions loaded with preservatives, my recipe captures the essence of summer in every bite, allowing the natural flavors to shine through.
In this blog post, I’ll guide you through crafting your own delightful cherry pie filling, just like grandma did. You’ll learn the secret tips that make this filling stand out and how easy it is to whip up. So grab your apron, and let’s create a little piece of nostalgia together!
WHAT ARE Homemade Cherry Pie Filling?
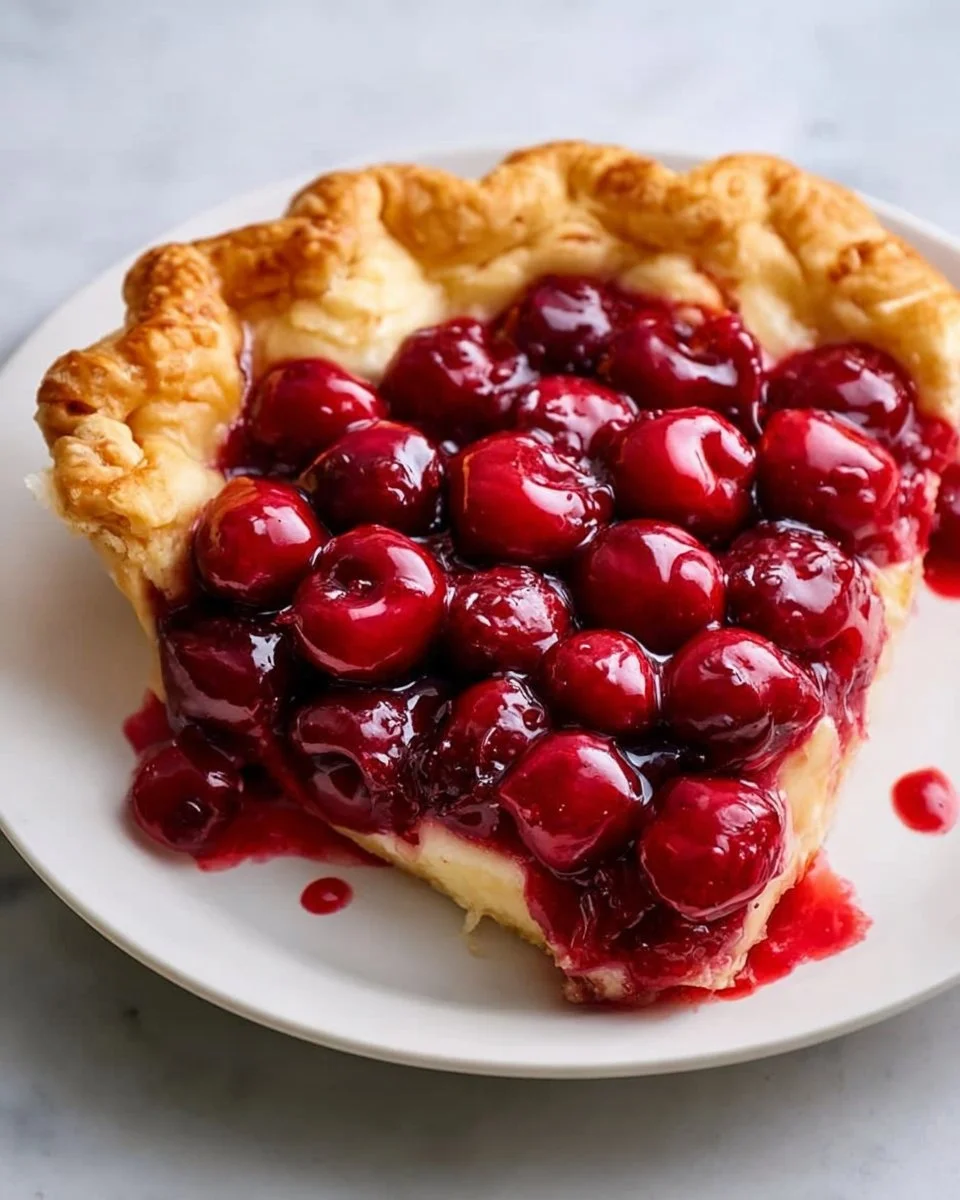
Homemade Cherry Pie Filling is more than just a topping for your desserts; it’s a nod to nostalgia and family love. Originating from age-old recipes passed down through generations, this filling showcases fresh cherries simmered to perfection with simple, wholesome ingredients. The taste is a delightful balance of sweet and tart, while the texture is thick and luscious, perfect for enveloping a flaky pie crust.
But why make it at home? The unique flavor of freshly pitted cherries combined with sugar and a hint of lemon juice creates a vibrant filling that you simply can’t replicate with canned options. You should opt for Homemade Cherry Pie Filling whenever you’re in for a slice of comfort—be it for a summer barbecue, a holiday gathering, or just a sweet treat after dinner. There’s no time like cherry season!
WHY YOU’LL LOVE THIS RECIPE
1. Freshness Over Factory-Made
The bright, punchy flavor of fresh cherries can’t be beaten! When making your own Homemade Cherry Pie Filling, you control the type and quality of the cherries, ensuring vibrancy and freshness that store-bought fillings often lack.
2. Customization Galore
Want a little extra zing? Feel free to incorporate spices like cinnamon or nutmeg! You can easily adjust the sweetness by varying the sugar to your taste, or even substitute with honey or maple syrup for unique flavor profiles.
3. Cost-Effective
Why spend a fortune on store-bought fillings that often come in tiny cans? Making your own cherry pie filling is not only more delicious but it’s downright budget-friendly. Plus, you’ll have enough to fill multiple pies!
4. Simple Process, Amazing Results
This recipe is a breeze! With only 5 main ingredients and a few simple steps, you’ll create an absolutely scrumptious filling in about 30 minutes—perfect for novice bakers.
5. Make Ahead and Freeze
One of the best parts? You can whip up a big batch and freeze it for later use! This means whenever a pie craving hits, all you have to do is thaw and bake. It’s comfort food ready at your fingertips.
INGREDIENTS SECTION
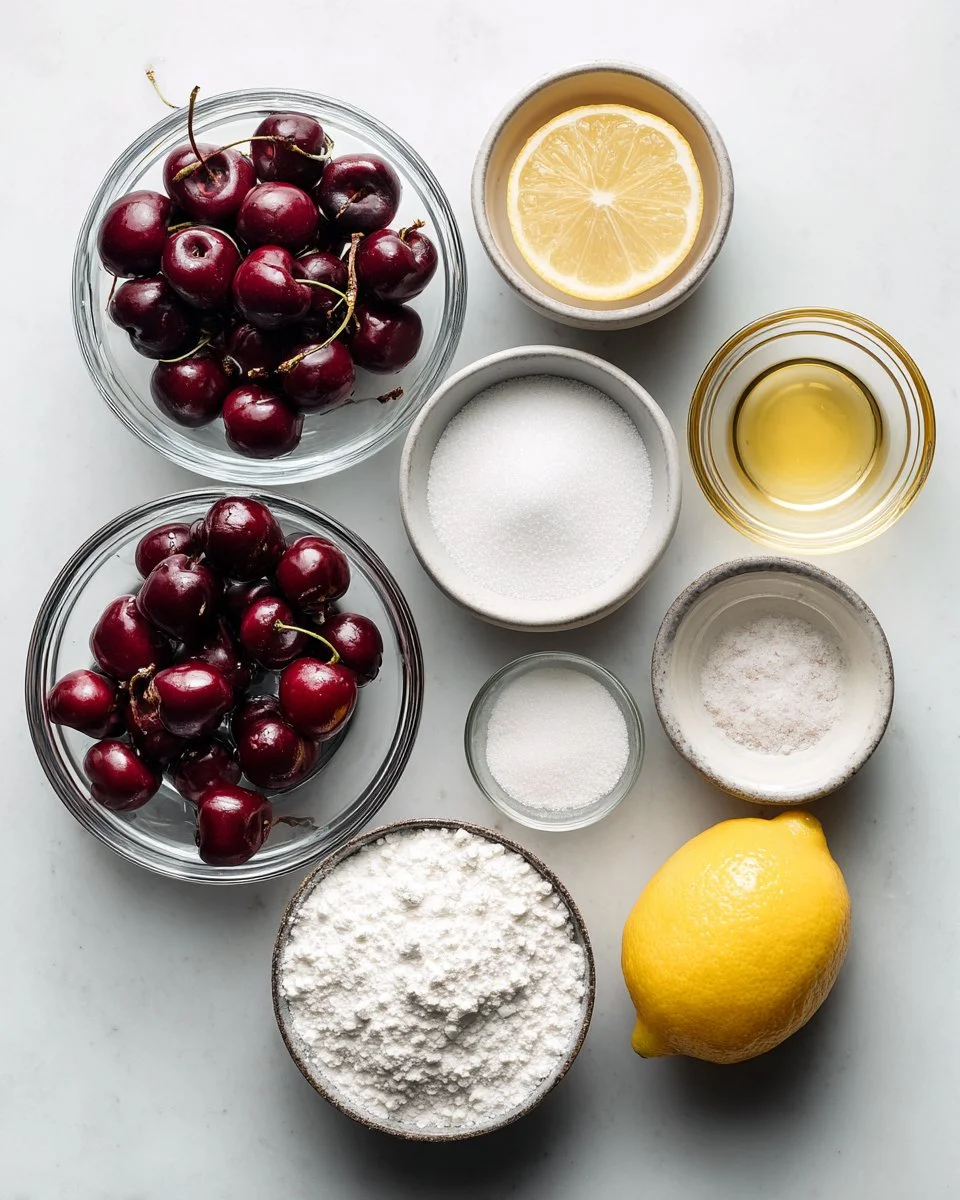
To create your own Homemade Cherry Pie Filling, you’ll need the following ingredients:
- Fresh Cherries: Make sure to use ripe, sweet cherries for the best flavor. I recommend dark sweet cherries, but if you can find sour cherries, go for those for a tangy twist!
- Sugar: 1 to 1 ½ cups, depending on the sweetness of your cherries. You can use granulated sugar, but feel free to experiment with coconut sugar or honey as substitutions.
- Cornstarch: 3-4 tablespoons, to thicken the filling and give it that desirable coherence.
- Lemon Juice: 1-2 tablespoons, fresh squeezed adds brightness and balances the sweetness.
- Vanilla Extract: 1 teaspoon, for a touch of warmth—this is what takes the filling from good to extraordinary.
- Salt: Just a pinch to enhance the flavors.
Notes:
- Make sure your ingredients are at room temperature where applicable, such as butter or any alternate sweetener you might be using. This helps to integrate everything smoothly!
STEP-BY-STEP INSTRUCTIONS
Wash and pit the fresh cherries. (About 10 minutes)
- Rinse the cherries under cold water. A cherry pitter makes this step a breeze!
In a saucepan, combine cherries, sugar, cornstarch, lemon juice, and salt. (About 5 minutes)
- Use a medium-sized saucepan and stir to combine all ingredients evenly.
Cook over medium heat, stirring until the mixture starts to thicken. (8-10 minutes)
- Expect small bubbles to start breaking on the surface; this is the perfect time to gently stir and scrape the bottom to prevent sticking.
Remove from heat and stir in vanilla extract. (1 minute)
- Caress the flavors together and let sit for another minute to absorb.
Allow to cool before using in pies or other desserts. (15-20 minutes)
- Let it cool to room temperature; that thick, glossy filling will have your family begging for pie!
Chef’s Tips:
- Keep stirring, especially as it thickens, to avoid burning.
- If you’re in doubt about the thickness, remember that the mixture will thicken more upon cooling.
Common Mistakes to Avoid:
- Don’t skip the salt! It enhances the flavors.
- If the filling looks too runny, cook it a bit longer before cooling.
EXPERT TIPS & TRICKS
- Quality Ingredients Matter: Always use ripe, fresh cherries. Frozen cherries are a great alternative but will require some adjustments with cornstarch.
- Taste as You Go: Don’t hesitate to adjust sugar based on how tart your cherries are.
- Storage: Store your Homemade Cherry Pie Filling in airtight containers in the fridge for up to a week or freeze for longer life.
- Make-Ahead Instructions: Create this filling up to a month in advance, then thaw it overnight in the fridge before using.
- Troubleshooting: If your filling ends up too runny, add a little more cornstarch mixed with water and cook a few minutes longer to rectify the issue.
- Variety Matters: Consider using a mix of different cherries if you’re feeling adventurous; each variety adds a different nuance to the flavor!
SERVING SUGGESTIONS
What’s a cherry filling without the perfect accompanying dish? Use this delicious Homemade Cherry Pie Filling in a classic pie or layer it over vanilla ice cream for a delightful sundae. Drizzle it over pancakes for a special breakfast, or use it as a filling for pastries. For presentation, how about putting it in a glass jar topped with a sprig of mint? It makes for an elegant dessert at any gathering!
VARIATIONS & SUBSTITUTIONS
- Flavor Combinations: Try adding almond extract for a nutty twist or fold in a handful of blueberries for a mixed berry pie filling.
- Dietary Restrictions: For a lower-sugar version, swap granulated sugar with a natural alternative like stevia or erythritol.
- Seasonal Variations: In fall, consider adding a sprinkle of cinnamon and nutmeg for a festive touch. During winter, pair with cranberries for a tart depth.
NUTRITION & STORAGE INFO
- Prep Time: 10 minutes
- Cook Time: 15 minutes
- Total Time: 25 minutes
- Yield: About 4 cups (serves 8-10)
- Estimated Calories: 80 calories per serving (based on 10 servings)
- Storage Instructions: Keep in an airtight container in the refrigerator for up to 1 week; freeze for up to 3 months. Thaw overnight in the fridge before using.
FAQ SECTION
Can I use frozen cherries for this recipe?
Yes, you can! Just be sure to thaw and drain them before use to avoid excess liquid.How do I know when the filling is thick enough?
The filling should coat the back of a spoon and not run off easily when you tilt it.Does this filling work for other fruits?
Absolutely! You can use peaches, blueberries, or mixed berries using the same technique.Can I add spices to the filling?
Yes! Feel free to experiment with a hint of cinnamon or nutmeg to elevate the flavor profile.Is it necessary to pit the cherries?
Yes! You don’t want bites of inedible pits in your sweet creation.What’s the best way to freeze the filling?
Place it in freezer-safe bags or containers and be sure to label with the date for easy identification.Can I make this filling using other sweeteners?
Certainly! Honey and maple syrup work wonderfully; just adjust the quantity to taste.How long does the filling last in the fridge?
It will stay fresh in a sealed container for about a week.Can I use canned cherries instead?
It’s best to use fresh, but if you must, drain canned cherries and adjust sugar to taste.What are some serving ideas besides pie?
Scoop it over ice cream, spread it on toast, or use it in a trifle with whipped cream and cake layers.

CONCLUSION
This Homemade Cherry Pie Filling recipe is quite the gem, capturing the essence of summer in every spoonful. Whether you’re baking for friends, family, or simply treating yourself, it’s bound to create memories and bring smiles—just like it did in my grandma’s kitchen.
I encourage you to give it a try and let me know how it turns out in the comments! And if you’re looking for more delightful recipes, check out my other dessert posts—your sweet teeth will thank you! Happy baking!