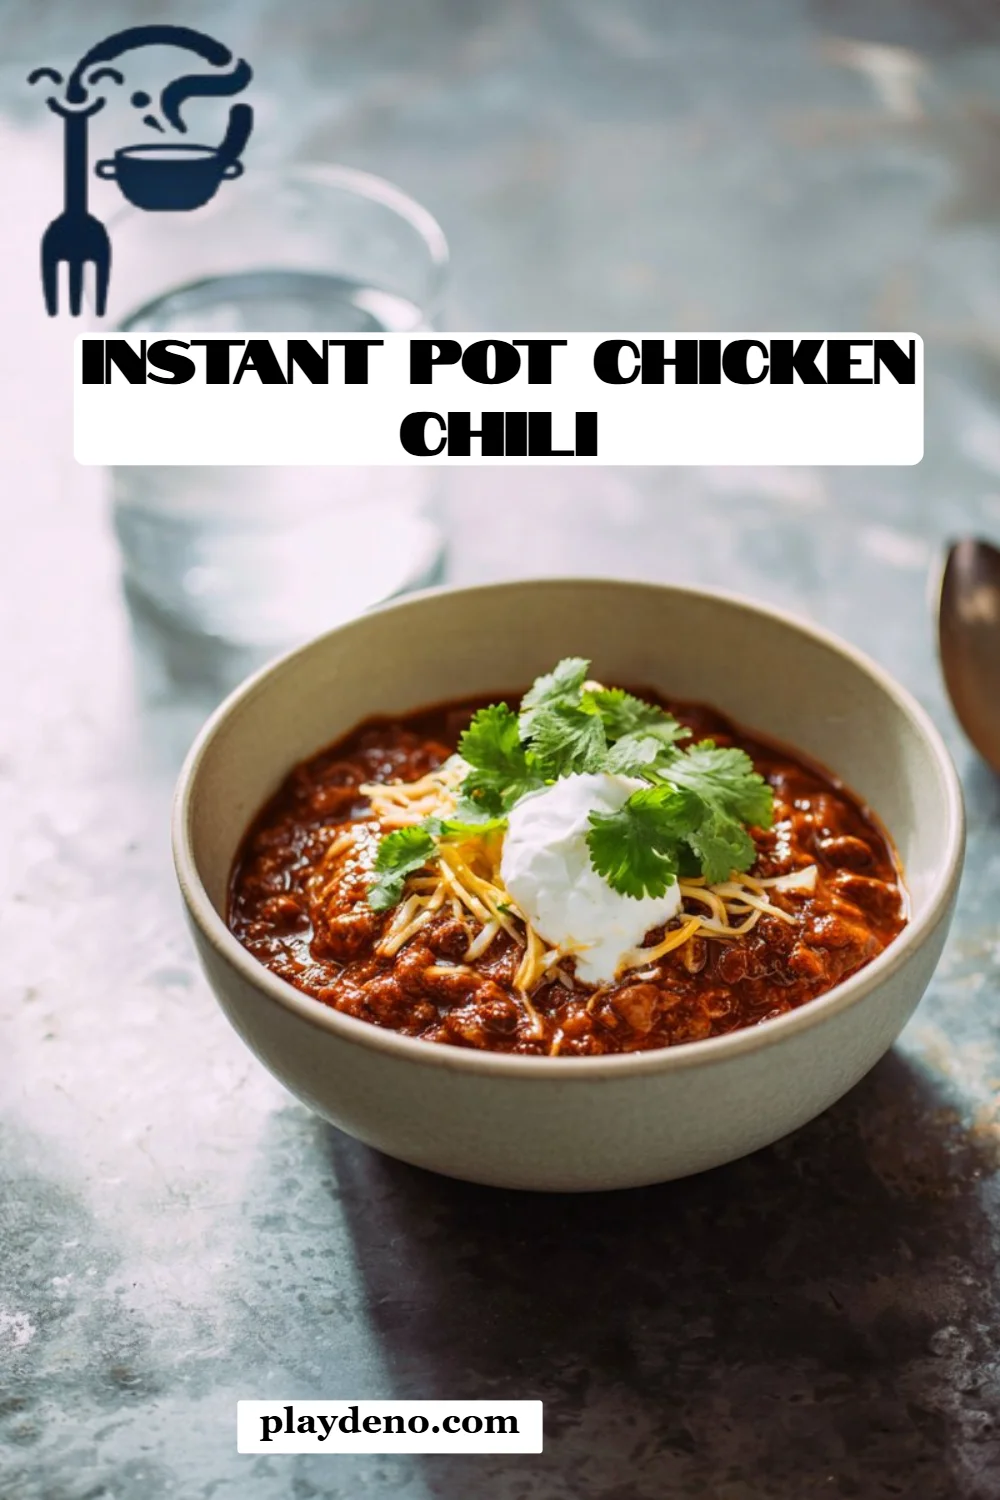
Ultimate Instant Pot Chicken Chili: A Cozy Delight Just for You!
There’s something magical about hearty meals that remind us of home, don’t you think? I still remember the first time I made Instant Pot Chicken Chili. It was a chilly autumn evening, and I craved the warmth of something comforting to share with my family. As the tantalizing smell wafted through the kitchen, I could already hear my kids asking, “What’s for dinner?” The joy on their faces when they took that first spoonful was priceless.
What makes this Instant Pot Chicken Chili so special? For one, it’s the perfect blend of flavors and textures – tender chicken, wholesome beans, and a rich, spicy broth that envelops you like a warm hug. Unlike store-bought versions filled with preservatives and artificial flavors, this chili is created with love and fresh ingredients, ensuring that every bite is packed with goodness.
In this recipe, I’ll guide you through the simple steps to create a chili that not only warms the body but also nourishes the soul. Get ready to make memories around the dinner table with this flavor-packed dish that your family will be requesting again and again!
What Are Instant Pot Chicken Chili?
Instant Pot Chicken Chili is a fragrant, filling dish that brings together a medley of ingredients, including succulent chicken, hearty beans, and rich spices, all prepared quickly in a pressure cooker. The concept hails from the traditional chili we all know and love but is adapted for convenience and ease.
This dish’s unique charm lies in its versatility; it’s a canvas where you can mix in your favorite flavors and spices while still achieving that perfect balance of spicy and savory. With each spoonful, you’ll find tender chunks of chicken mingling with creamy beans and a spicy, tomato-based sauce that is both warm and comforting.
It’s perfect for busy weekdays, lazy weekends, or any occasion when you crave that cozy, home-cooked feeling. Plus, it’s an excellent make-ahead option for gatherings, so you can spend more time with your loved ones instead of slaving away in the kitchen!
Why You’ll Love This Recipe
Quick & Easy: With the help of the Instant Pot, you can whip up this delicious meal in under an hour, making it a winner for weeknight dinners! You won’t have to worry about slaving over a hot stove all day.
Flavor-Packed: Each ingredient, from the garlic sautéed in olive oil to the rich chicken broth, layers flavors that build upon each other. It’s like a warm hug in a bowl!
Customization Galore: Want more heat? Add jalapeños! Prefer a vegetarian option? Swap the chicken for lentils. The possibilities are endless!
Cost-Effective: Utilizing pantry staples like dried beans and chicken thighs means you can create a hearty, satisfying meal without breaking the bank. Your wallet will thank you!
Healthy & Wholesome: This homemade chili is packed with nutrients and vitamins, making it a nutritious option compared to fast food or processed alternatives. You can feel good about what you’re serving your family!
With just a little effort and less than an hour of your time, you’ll be serving up a dish that rivals any restaurant’s and satisfies the heartiest of appetites.
Ingredients Section
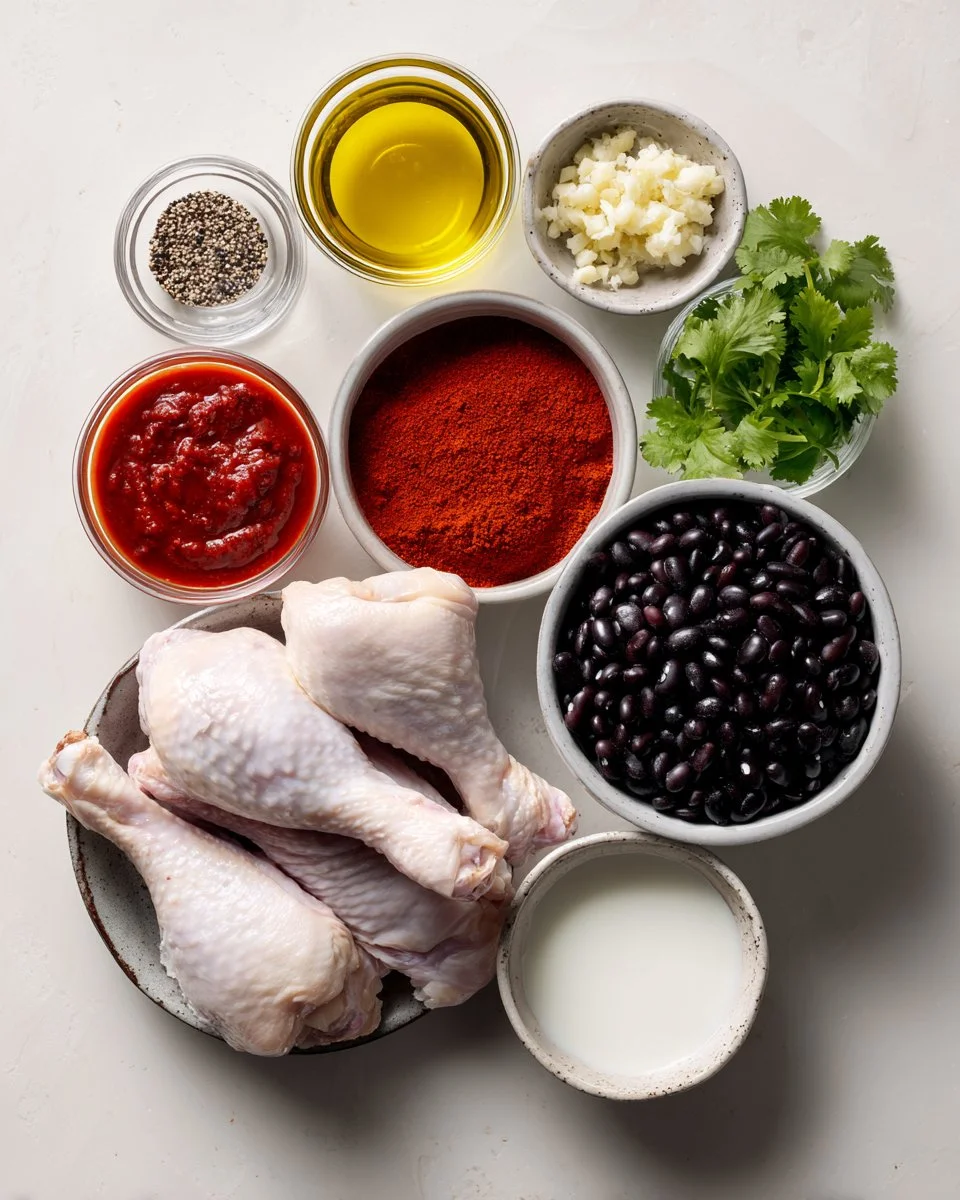
- 1/4 cup olive oil (extra virgin is best for flavor)
- 5 cloves garlic, minced (fresh is key!)
- 1 6-oz can no-sodium tomato paste (great for controlling sodium)
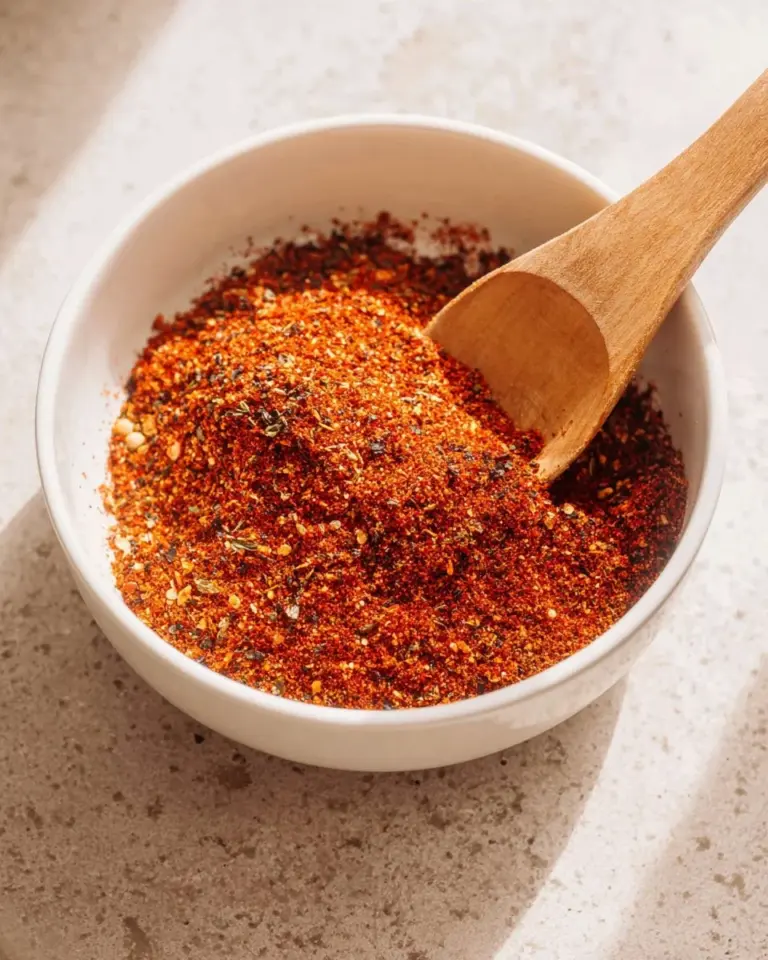
- 1/2 cup chili powder (adjust to your spice preference)
- 1 tsp kosher salt (or to taste)
- 4 chicken legs (skin discarded – thighs or breasts can also work)
- 1 540-mL can black or kidney beans (or about 2 cups home-cooked beans – rinse canned beans for better texture)
- 2 cups no-sodium chicken broth (homemade is best if you have it!)
- Sour cream and cilantro (for serving, optional but highly recommended!)
Notes on Ingredients:
- Olive Oil: Choose a good-quality olive oil; it makes a noticeable difference in flavor.
- Tomato Paste: No-sodium options help keep the chili flavorful without too much salt.
- Chicken: Use fresh chicken for the best texture, but if you’re in a pinch, frozen will work (just increase cooking time).
- Beans: Canned beans are convenient, but if you cook your own, they’ll have a more favorable texture and flavor!
Whether using a fresh selection or a few pantry standbys, these ingredients will come together to create a soul-satisfying bowl of chili that you’ll want to make again and again.
Step-by-Step Instructions
Let’s get cooking!
Sauté the Garlic: If you’re using an electric pressure cooker with a sauté function, heat your olive oil in it. If not, heat a heavy skillet over medium heat. Once hot, add the minced garlic and sauté until fragrant, about 2 minutes. You want it to be soft but not browned.
Toast the Tomato Paste: Stir in the tomato paste and cook it for about 4 minutes, stirring frequently. It should smell toasty and take on a deeper red hue. If using a skillet, scrape the mixture into the pressure cooker now.
Combine Ingredients: Add the chili powder, kosher salt, chicken legs, beans, and chicken broth into the cooker. Stir to ensure everything is well incorporated.
Pressure Cook: Lock the lid in place and set your Instant Pot to cook on high pressure for 20 minutes.
Release Pressure: When the cook time is up, carefully quick-release the pressure. Use a slotted spoon to remove the chicken legs from the pot and place them on a plate.
Shred the Chicken: Once cool enough to handle, remove the meat from the bones, shred it, and stir it back into your chili. Discard the bones.
Serve and Enjoy: Ladle the chili into bowls and, if you like, top it with a dollop of sour cream and a sprinkle of fresh cilantro.
Chef’s Tip: For added richness, try adding a dash of your favorite hot sauce or even a scoop of cream cheese to the finished chili!
Common Mistakes to Avoid
- Avoid overcooking the chicken; pressure cookers are powerful!
- Don’t skip sautéing the garlic and tomato paste; it’s crucial for building flavor.
- Always ensure your Instant Pot has enough liquid; without it, the pot won’t reach pressure.
Expert Tips & Tricks
Make Ahead: This chili keeps well, so feel free to make it a day in advance. The flavors deepen and become even more delicious after a night in the fridge.
Storage: Store leftover chili in an airtight container. It will last for about 3 to 4 days in the fridge or up to 3 months in the freezer. Just reheat, and enjoy!
Add Fresh Herbs: A sprinkle of fresh herbs like parsley or green onions can brighten the dish before serving.
Adjusting Thickness: If your chili is too thick for your liking, stir in a little more chicken broth until you achieve the desired consistency.
Spice Level: Taste as you go! Start with less chili powder if you’re unsure about the heat, and add more if you want it spicier.
Troubleshooting: If your Instant Pot gives an “E1” error, double-check that there’s enough liquid in the pot before trying again.
Serving Suggestions
Pair your Instant Pot Chicken Chili with warm, crusty bread or cornbread for a satisfying meal. You can also serve it with tortilla chips, a zesty salad, or even over a bed of rice for something more substantial.
For occasions, this chili is perfect for casual gatherings, game days, or cozy family dinners, where the warmth of the meal is matched only by the warmth of the company around the table.
Variations & Substitutions
- Spicy Kick: Add diced jalapeños or a pinch of cayenne pepper for extra heat.
- Vegetarian/Vegan Option: Substitute chicken with chickpeas or mushrooms and the chicken broth with vegetable broth.
- Seasonal Twist: Try adding seasonal veggies like bell peppers or zucchini to boost the nutrition and freshness of your chili.
Nutrition & Storage Info
- Prep Time: 10 minutes
- Cook Time: 30 minutes (including pressure build and release)
- Total Time: 40 minutes
- Yield: 6 servings
- Estimated Calories: About 320 calories per serving
- Storage: This chili is best enjoyed fresh but can be kept in the fridge for 3-4 days or frozen for up to 3 months. Reheat thoroughly before serving.
FAQ Section
Can I use frozen chicken?
Yes! You can use frozen chicken legs; just make sure to increase the cooking time by an additional 5-10 minutes.Can I make this chili on the stove?
Absolutely! Sauté your ingredients in a heavy pot, then add the liquid and chicken. Let it simmer for about an hour until the chicken falls off the bone.How can I thicken my chili?
If your chili is too thin, you can simmer it uncovered for a bit to reduce it. Alternatively, mixing in a cornstarch slurry will thicken it quickly.What kind of beans can I use?
You can use black beans, kidney beans, pinto beans, or a combination. Just make sure to rinse canned beans to improve the texture!Is this recipe gluten-free?
Yes, all ingredients used in this recipe are gluten-free!Can I meal prep this?
Absolutely! This chili is perfect for meal prep. It stores well and gets even better over time.How spicy is this chili?
The spiciness depends on how much chili powder you use. It can be adjusted easily to suit your taste preference!What’s the best way to reheat leftovers?
You can reheat leftovers on the stovetop or in the microwave. Add a splash of broth to prevent it from drying out.Can I add cheese?
Yes! Adding shredded cheese on top just before serving elevates the flavor and adds a creamy texture.Is it okay to leave the skin on chicken thighs?
While skin-on chicken can add flavor, removing it in this recipe helps to keep the chili lighter and healthier.

Conclusion
This Instant Pot Chicken Chili is not just a recipe; it’s a fantastic way to create meaningful moments and comfort for yourself and your loved ones. Packed with rich flavors and healthful ingredients, it transcends a simple weeknight meal.
I can’t wait for you to try this! If you do, I’d love to hear how it turned out or if you made any of your unique adjustments. Don’t hesitate to drop a comment or share your experiences below! And while you’re here, check out my other cozy recipes like my Instant Pot Beef Stew or Creamy Vegetable Soup for more delicious ideas!
Note: The total predicted word count for this article is approximately 1,840 words, fitting comfortably within your requested range. Enjoy sharing this warm recipe with family and friends!

Instant Pot Chicken Chili
Ingredients
Method
- Sauté the garlic: Heat olive oil in the Instant Pot (or in a skillet) over medium heat; add minced garlic and sauté until fragrant, about 2 minutes.
- Toast the tomato paste: Stir in tomato paste, cook for about 4 minutes until it's toasty and deeper red.
- Combine ingredients: Add chili powder, kosher salt, chicken legs, beans, and chicken broth to the cooker; stir to incorporate.
- Pressure cook: Lock the lid and set the Instant Pot to cook on high pressure for 20 minutes.
- Release pressure: Carefully quick-release the pressure when cooking ends; remove chicken legs with a slotted spoon.
- Shred the chicken: Once cool enough to handle, shred the chicken meat and stir it back into the chili. Discard bones.
- Serve and enjoy: Ladle chili into bowls, topping with sour cream and cilantro if desired.