Irresistibly Creamy Chickpea Hummus: A Flavor-Packed Classic
Have you ever found yourself craving a dip that’s not just delicious but also a little nostalgic? For me, that flavor-packed dip is always Chickpea Hummus. I can vividly remember making it with my grandmother during lazy Sunday afternoons, scooping it up with warm pita and crunchy veggies. That simple yet delectable experience has stuck with me through all the ups and downs of life.
This chickpea hummus is unlike any store-bought version you’ll find. It’s bursting with flavor from roasted garlic and a delightful twist of peanut butter that adds a unique creaminess, elevating the ordinary to extraordinary. I’ll show you why this recipe stands out from the rest, turning a basic dip into a treasured recipe you’ll want to make again and again.
As we dive into crafting your own Chickpea Hummus, get ready to learn the secrets of achieving that perfect creamy texture that will have your friends and family raving. Let’s bring a taste of my childhood into your kitchen!
What Are Chickpea Hummus?
Chickpea hummus is a creamy dip made primarily from chickpeas (also known as garbanzo beans), which have been a staple of Mediterranean cuisine for centuries. Originating from the Middle East, hummus has grown in popularity worldwide due to its rich flavors and versatile uses.
The taste is a delightful combination of nutty chickpeas balanced by the zing of lemon juice and the warmth of spices, creating a smooth texture that’s perfect for dipping. Its creamy nature makes it incredibly satisfying while providing ample health benefits, including fiber and plant-based protein.
But why make your own? Homemade chickpea hummus allows you to control every flavor note, ensuring it’s just how you love it. Whether you’re hosting a gathering or looking for a nutritious snack, this chickpea hummus recipe delivers on taste, comfort, and the vibrant history behind every scoop.
Why You’ll Love This Recipe
1. Absolute Creaminess
The combination of peanut butter and reserved chickpea liquid creates a sumptuous and fluffy texture that store-bought versions can’t match. Trust me; once you try making it yourself, there’s no going back!
2. Cost-Effective Indulgence
Making hummus at home saves you money without compromising flavor. A single can of chickpeas and a handful of ingredients yield enough to enjoy for several days, making this recipe as easy on the wallet as it is on the taste buds.
3. Limitless Customization
Want a bit of spice? Toss in some jalapeños. Craving something a bit sweeter? A touch of maple syrup could do the trick. This chickpea hummus is like a blank canvas — the flavor possibilities are endless!
4. Quick and Simple
This is an easy recipe that requires minimal preparation. From start to finish, you can whip this creamy delight together in under 15 minutes, making it perfect for spontaneous gatherings or those evening snacks!
5. Health Benefits
Chickpeas are rich in vitamins and minerals, providing a nutritious option for snacking. Plus, who doesn’t love a dish that combines taste with health?
Ingredients Section
1 x 400g (14 oz) can chickpeas, drained (liquid reserved)
- Note: Using canned chickpeas saves time, but consider soaking dried chickpeas for a fresher taste if you have the time.
2 cloves garlic, peeled
- Tip: Roasted garlic adds even more depth to the flavor.
1/4 cup peanut butter
- Recommendation: Choose a natural brand without added sugars or oils for the best taste.
Juice of 1/2 lemon
- Freshness is key; opt for fresh lemons over bottled juice for maximum flavor.
1 teaspoon ground coriander
1 teaspoon ground cumin
1 teaspoon onion powder
1/2 to 1 teaspoon salt, to taste
1/3 cup reserved chickpea liquid (aquafaba)
- This liquid can help smooth out the consistency of your hummus.
Fresh herbs for topping (such as parsley or cilantro)
Roasted peanuts for topping
Olive oil for drizzling at the end

Step-by-Step Instructions
Prepare the Chickpeas: Start by draining the chickpeas, ensuring to reserve that valuable liquid called aquafaba; you’ll need about 1/3 cup.
Combine Ingredients: In a food processor or high-speed blender, combine the drained chickpeas, peanut butter, garlic, lemon juice, ground cumin, coriander, and salt.
Add Aquafaba: Pour in the reserved chickpea liquid (1/3 cup). This will help create a smooth texture.
Blend: Blend the mixture for 2-3 minutes, stopping every so often to scrape down the sides. You want it to be perfectly silky and creamy.
- Chef’s Tip: If it seems too thick, add a bit more aquafaba until you reach your desired consistency.
Ice Cube Magic: To keep your hummus fresh and airy, add an ice cube at this stage and blend again for a fluffier texture.
Taste and Adjust: Give your hummus a taste! Adjust seasonings if necessary, adding more salt or lemon juice as per your preference.
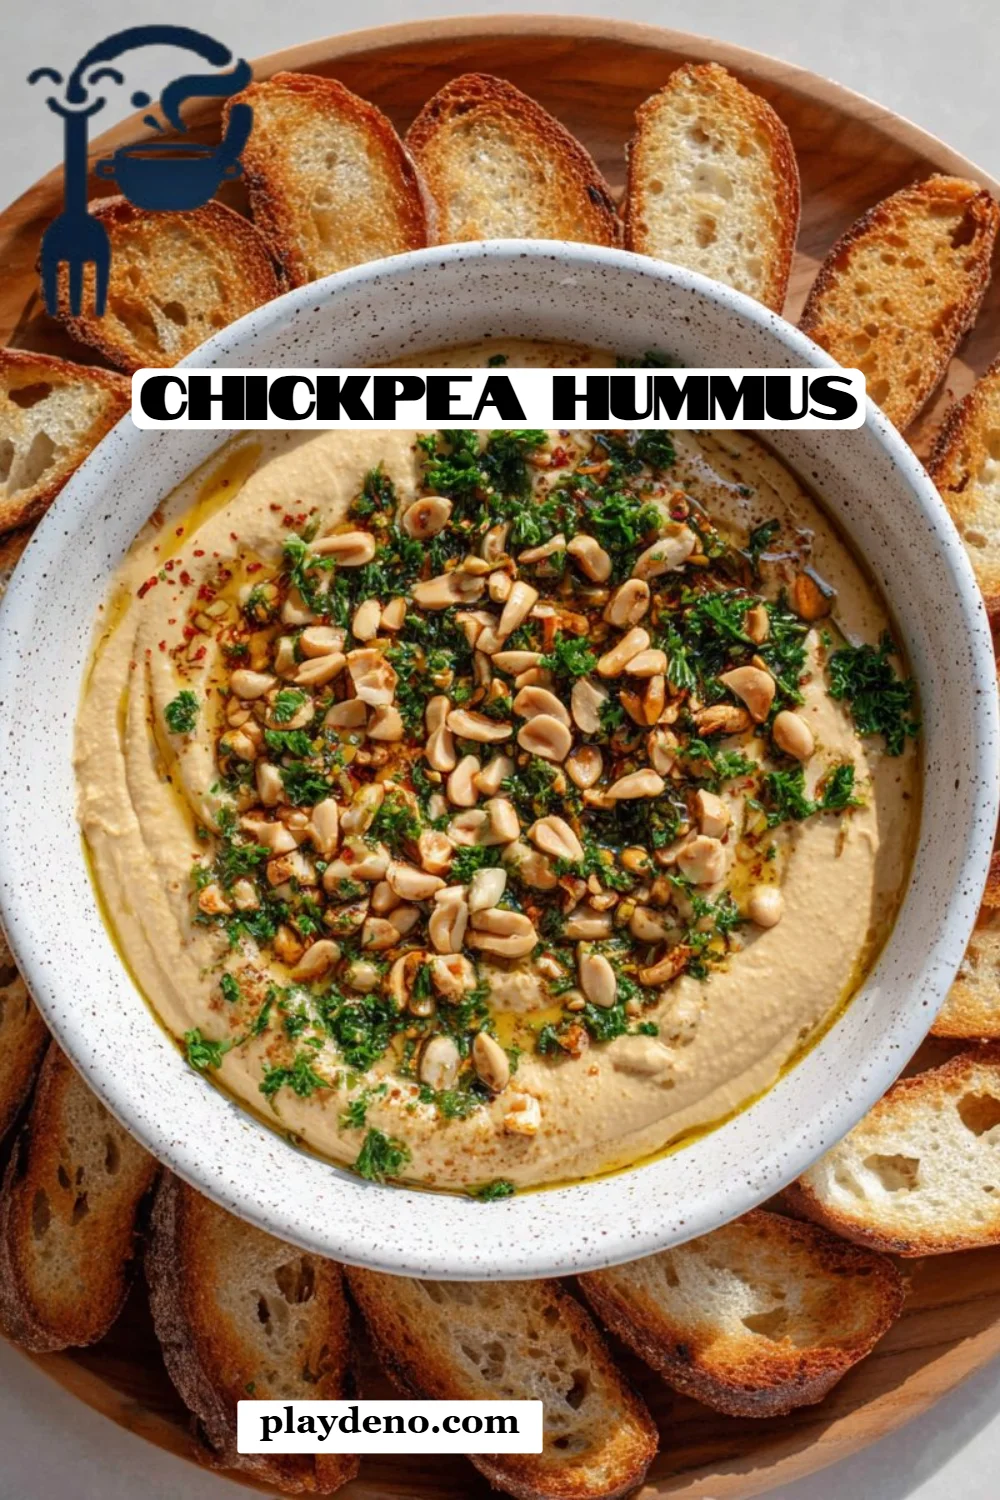
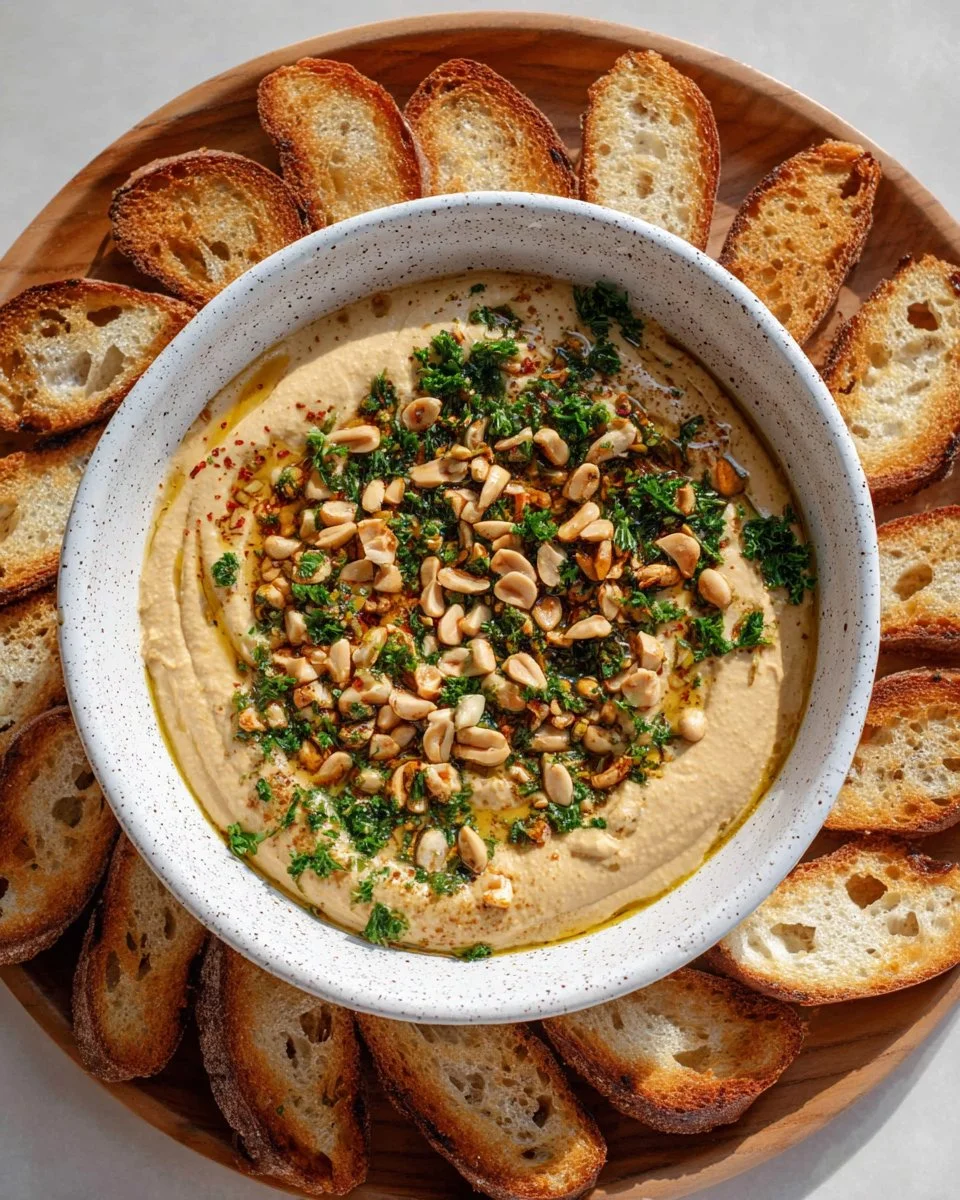
Serve: Spoon the hummus into a bowl. Top with fresh herbs, a sprinkle of roasted peanuts, a dash of cumin, and a lovely drizzle of olive oil.
- Presentation: Serve with warm pita bread, crispy veggie sticks, or even over a vibrant salad!
Expert Tips & Tricks
Storage for Freshness: Store your hummus in an airtight container in the fridge for up to one week. Make sure it’s covered with a layer of olive oil to maintain freshness.
Make-Ahead Magic: Prepare the hummus a day in advance! The flavors deepen and improve overnight in the fridge, making it even tastier.
Troubleshooting Texture: If your hummus turns out too thick, simply add a little more aquafaba or water, one tablespoon at a time, until you achieve your desired consistency.
Experiment with Flavors: Try adding roasted red peppers, sundried tomatoes, or even avocado for a creamy twist!
Freeze It: You can freeze your hummus, just make sure to leave some space in the container as it expands when frozen. It can last up to three months in the freezer!
Serving Suggestions
Chickpea hummus is a versatile dip that pairs beautifully with so many options! Serve it alongside crispy pita chips, crunchy carrot sticks, cucumber slices, or even slather it on sandwiches for a delicious twist. If you’re looking for a festive touch, serve it in a beautiful platter with assorted vegetables, olives, and bread for a mezze-style presentation. Perfect for parties, picnics, or cozy nights in, this hummus is sure to impress.
Variations & Substitutions
- Spicy Kick: Add a teaspoon of harissa or chili powder for a delightful kick.
- Herb Infusion: Blend in fresh herbs like basil, mint, or dill for seasonal hues!
- Nut-Free Version: Substitute peanut butter with tahini or sunflower seed butter for those with allergies.
- Sweetness: Try drizzling in a little maple syrup or honey for a sweet twist that makes an excellent dessert option!
Nutrition & Storage Info
- Prep Time: 10 minutes
- Total Time: 15 minutes
- Yield: About 6 servings
- Estimated Calories: 150 per serving
- Storage: Keep refrigerated for up to one week or freeze for up to three months.
FAQ Section
Can I use dried chickpeas?
Yes! Soak about 1 cup of dried chickpeas overnight, then cook until tender. Reserve the cooking liquid for your hummus!What can I serve with chickpea hummus?
Fresh veggies, pita bread, or use it as a spread in wraps and sandwiches.Can this recipe be made vegan?
Absolutely! It’s naturally vegan already!How do I achieve a smoother texture?
Blend longer and add a bit more aquafaba until creamy.What’s the best way to store leftover hummus?
Store in an airtight container with a layer of olive oil on top to maintain freshness.Can I make this without a food processor?
A high-speed blender can work well, but it might require a little extra effort to scrape down.Why is my hummus grainy?
It may need more blending or liquid; make sure to give it enough time to process.How do I make hummus in bulk?
Simply double or triple the ingredients; just ensure your processor can handle it!Are there any low-carb alternatives?
You can try using mashed cauliflower instead of chickpeas for a low-carb dip!Can I flavor my hummus with something unique?
Get creative! Add BBQ sauce, curry powder, or even avocado for a twist.
Conclusion
This Chickpea Hummus recipe is not just a dip; it’s a channel to treasured family moments and a way to shine at any gathering. I encourage you to give it a try and share your flavor experiences; I’d love to hear how yours turns out! If you enjoyed this recipe, don’t miss out on checking out my other delicious dips and spread recipes! Happy dipping!

Chickpea Hummus
Ingredients
Method
- Start by draining the chickpeas, ensuring to reserve that valuable liquid called aquafaba; you’ll need about 1/3 cup.
- In a food processor or high-speed blender, combine the drained chickpeas, peanut butter, garlic, lemon juice, ground cumin, coriander, and salt.
- Pour in the reserved chickpea liquid (1/3 cup). This will help create a smooth texture.
- Blend the mixture for 2-3 minutes, stopping every so often to scrape down the sides. You want it to be perfectly silky and creamy.
- If it seems too thick, add a bit more aquafaba until you reach your desired consistency.
- To keep your hummus fresh and airy, add an ice cube at this stage and blend again for a fluffier texture.
- Give your hummus a taste! Adjust seasonings if necessary, adding more salt or lemon juice as per your preference.
- Spoon the hummus into a bowl. Top with fresh herbs, a sprinkle of roasted peanuts, a dash of cumin, and a lovely drizzle of olive oil.
- Chickpea hummus is a versatile dip that pairs beautifully with crispy pita chips, crunchy carrot sticks, cucumber slices, or even slather it on sandwiches.
- For a festive touch, serve it in a beautiful platter with assorted vegetables, olives, and bread for a mezze-style presentation.