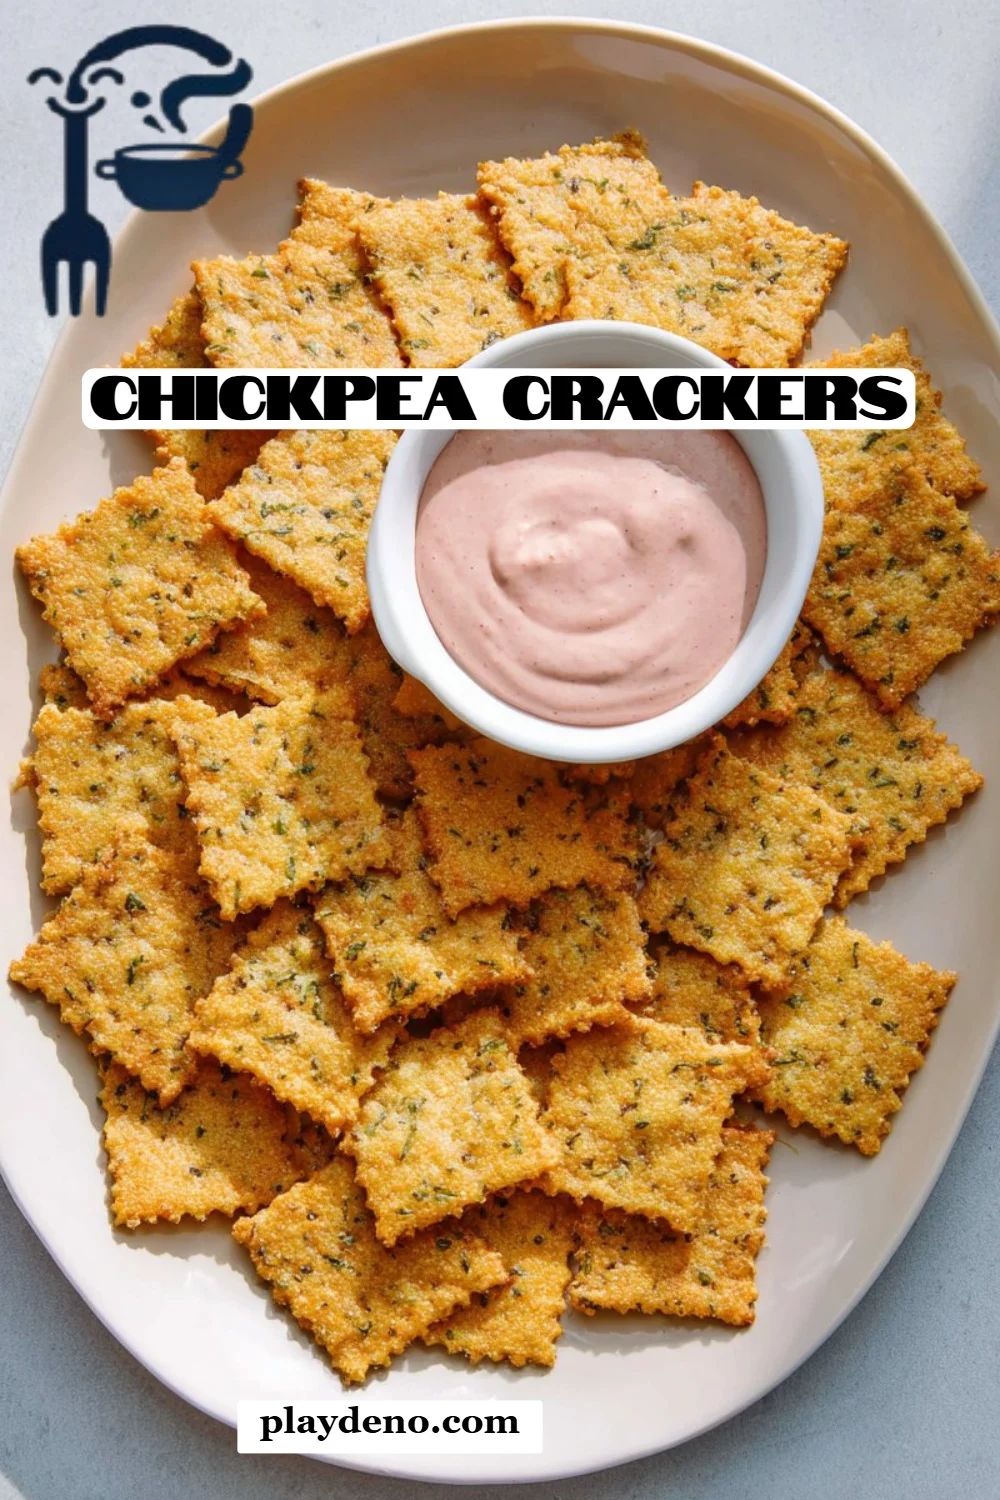
# Crunchy Chickpea Crackers: The Ultimate Healthy Snack
It all started on a lazy Sunday afternoon, one of those rare moments when the kitchen was blissfully quiet, and the smell of something delicious wafted through our home. I was reminiscing about my grandmother’s love for making healthy, crunchy snacks that we could munch on while watching our favorite movies. It was during one of those nostalgic moments that I stumbled upon the idea of making **Chickpea Crackers**.
These little gems are not just another snack; they're a celebration of wholesome ingredients and flavors that take you back to simpler times. Unlike store-bought options laden with preservatives and artificial flavors, these homemade chickpea crackers are packed with protein, fiber, and love. Plus, they are super easy to whip up, and their versatility is unmatched! Whether you're dipping them into hummus, pairing them with cheese, or snacking on them straight out of the jar, they are bound to become your new favorite guilty pleasure—minus the guilt!
In this post, I promise you’ll learn how to make these delightful **Chickpea Crackers**, explore their unique qualities, and even discover how to customize them to suit your taste. Let’s turn those humble chickpeas into something magical!
## What are Chickpea Crackers?
**Chickpea Crackers** are a delicious, gluten-free snack made primarily from chickpeas and oats, perfect for those looking for a healthy alternative to traditional crackers. Originating from Mediterranean cuisine, chickpeas have been enjoyed for centuries—not only for their nutritional benefits but also for their delicious, nutty flavor.
Once baked, chickpea crackers develop a crispy texture and a subtly earthy taste that makes them irresistible. The addition of rolled oats gives them a wonderful crunch and a wholesome feel. They are unique not only for their taste and texture but also for their high protein content, making them a nourishing option you can feel good about. You can whip these up for a cozy night in, a picnic, or as a quick snack during your hectic days!
## Why You’ll Love This Recipe
1. **Healthier Alternative**: Unlike store-bought crackers that can be high in preservatives and unhealthy fats, these **Chickpea Crackers** are made with whole, natural ingredients. You can enjoy snacking without the guilt!
2. **Cost-Effective**: Making your own crackers saves you money. With just a handful of pantry staples, you can create a batch that costs significantly less than packaged snacks.
3. **Endless Customization**: Feel free to mix and match spices and seeds! Add garlic powder for a savory kick, or toss in some nutritional yeast for a cheesy flavor without the calories.
4. **Easy Preparation**: This recipe is beginner-friendly and requires no prior baking skills. With minimal ingredients and straightforward steps, you’ll be a cracker pro in no time!
5. **Perfect for Any Occasion**: Whether you’re hosting a game night, need a quick snack for movie marathons, or prepping for a picnic, these crackers are sure to impress your friends and family!
## Ingredients

To make these delectable **Chickpea Crackers**, you will need the following ingredients:
- **400g (14 oz)** can chickpeas, rinsed and drained
- **1 cup** rolled oats (opt for gluten-free if necessary for dietary needs)
- **1/4 cup** natural nut butter (almond, peanut, or tahini work beautifully)
- **1 teaspoon** dried basil (feel free to substitute with rosemary or oregano)
- **1 teaspoon** onion powder
- **1 teaspoon** salt
**Prep Notes**:
- Make sure your nut butter is at room temperature for easier mixing.
- Look for high-quality ingredients; organic chickpeas and fresh spices will give maximum flavor.
- You can play around with different nut butters—just remember that flavors will slightly change depending on your choice.
## Step-by-Step Instructions
Preheat your oven to **160 degrees Celsius (320 degrees Fahrenheit)** fan-forced and line a baking tray with baking paper.
1. **Mix It Up**: In a food processor, combine the rinsed and drained chickpeas, rolled oats, nut butter, basil, onion powder, and salt. Blend for about **2 minutes**, until the chickpeas are finely mashed and the mixture starts forming a dough. Don’t shy away from scraping down the sides to ensure an even blend.
2. **Water It Down**: If the mixture seems a bit dry, add a small splash of water, then pulse to combine. You want it to hold together but not be too sticky.
3. **Portion Control**: Divide the dough into **4 to 5 portions**. Roll each portion out thinly with a rolling pin, then cut into desired cracker shapes (squares, diamonds, or whatever floats your boat!).
4. **Bake and Crisp**: Transfer your shaped crackers to the prepared baking tray and bake for **25 minutes**, or until they’re lightly golden and crisp.
5. **Cool Down**: Let the crackers cool completely before serving. This is crucial for maximum crunch! Store them in an airtight container for **1 to 2 weeks**, or freeze them for up to **2 months**. If you freeze them, pop them back in the oven briefly to refresh their crispness.
- **Chef's Tip**: Keep an eye on the crackers during the last few minutes of baking—oven temperatures can vary, and you don’t want them to burn!
## Expert Tips & Tricks
- **Storage Recommendations**: These crackers store well in an airtight container. If you anticipate not finishing them soon, freeze half to preserve freshness.
- **Make-Ahead Instructions**: You can prepare the dough ahead of time and store it in the fridge for **up to 3 days** before baking.
- **Common Mistakes to Avoid**: The biggest issue people face is rolling the dough too thick. Thinner crackers will crisp up better, so aim for about **1/8 inch** thick.
- **Baking Clumps**: If your crackers are clumping together on the tray, it could mean they're too doughy. Just give them a little space and separate them before baking.
- **Flavor Profiles**: Experiment with spices! Curry powder, paprika, or even a sprinkle of chili flakes will spice things up.
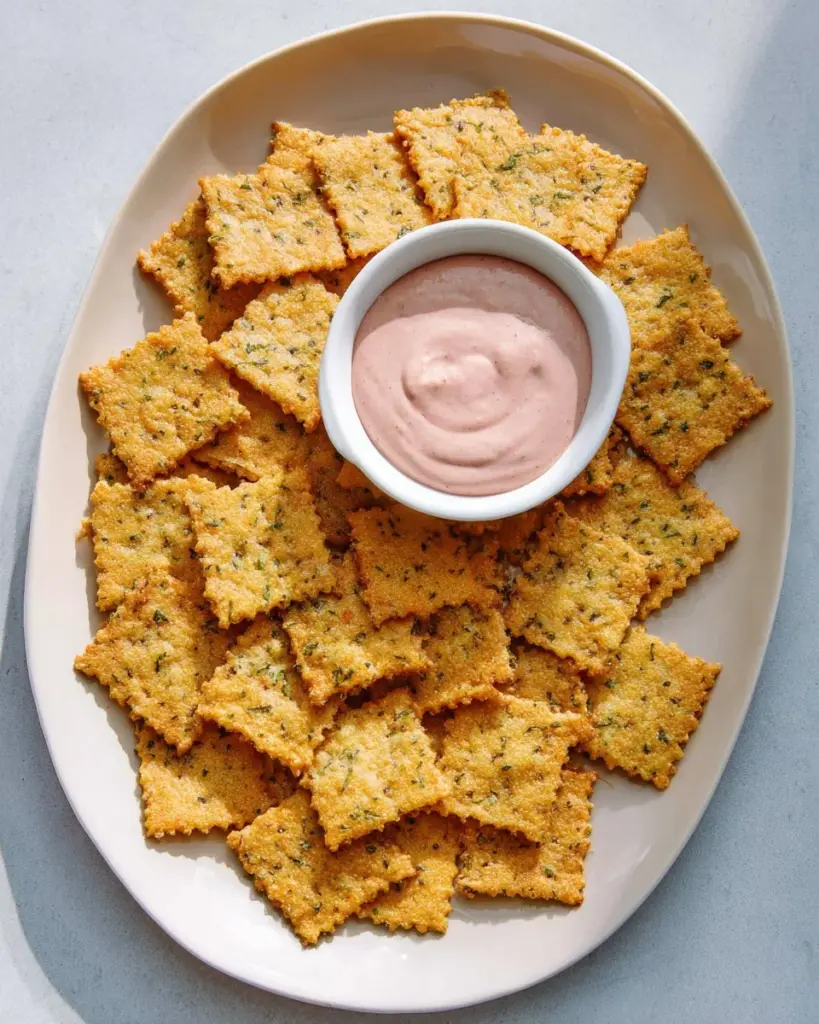
## Serving Suggestions
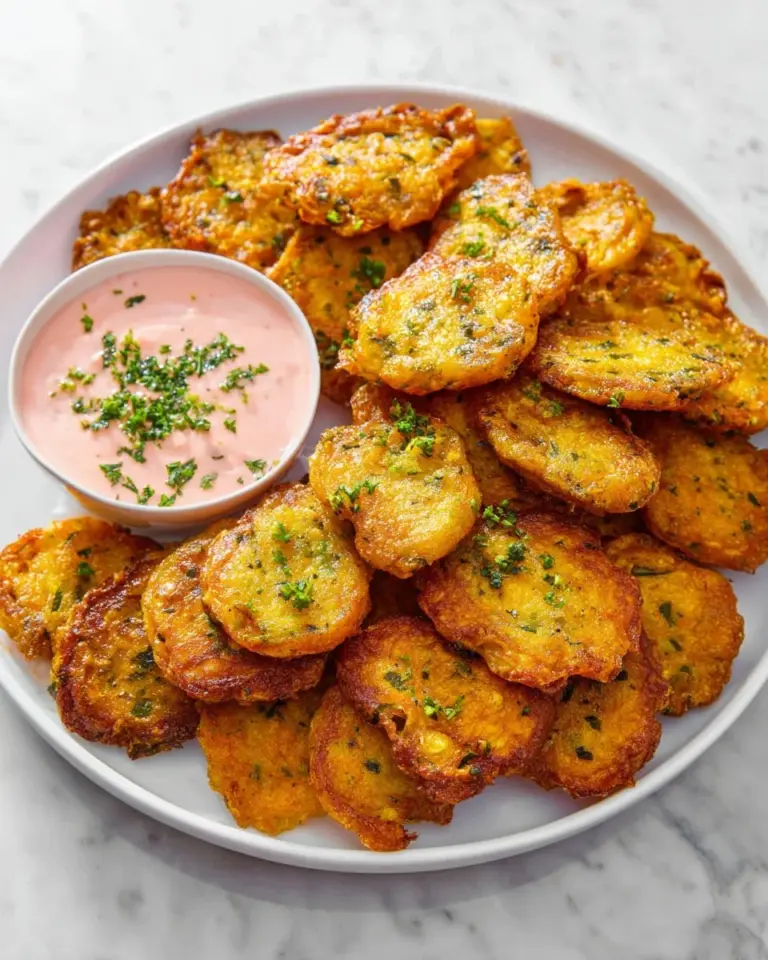
These **Chickpea Crackers** pair wonderfully with a variety of dips and toppings. Think creamy hummus, rich guacamole, or a tangy yogurt dip. You can also serve them alongside cheese, olives, and fresh veggies for a lively charcuterie board. They're perfect for parties, casual get-togethers, or a cozy night at home binge-watching your favorite shows.
## Variations & Substitutions
- **Different Flavors**: Try adding a tablespoon of sesame seeds or sunflower seeds for extra crunch. Ditch the basil and play around with spices like Italian seasoning or even taco seasoning for great flavor twists.
- **Dietary Adaptations**: For a nut-free version, substitute the nut butter with sunflower seed butter. You can also use gluten-free oats if you need a completely gluten-free snack.
- **Seasonal Options**: In fall, you might experiment with pumpkin spice for a seasonal touch, or add rosemary for a fresh, herbal flavor in the spring.
## Nutrition & Storage Info
- **Prep Time**: 10 minutes
- **Cook Time**: 25 minutes
- **Total Time**: 35 minutes
- **Yield**: 24 crackers (roughly)
- **Estimated Calories**: 120 calories per serving (2-3 crackers)
- **Storage Instructions**: Keep at room temperature for up to a week in an airtight container. Store in the fridge for longer life or freeze for two months.
## FAQ Section
1. **Can I use dried chickpeas instead?**
- While you could use dried chickpeas, they would need to be soaked and cooked prior to using them in this recipe.
2. **Can I make these chickpea crackers spicy?**
- Absolutely! Add some cayenne pepper or chili powder to the mixture for a kick.
3. **How can I make these crackers more flavorful?**
- Incorporating fresh herbs or varying your spices can amplify the flavors. Experiment with garlic or onion powder!
4. **What if my mixture is too dry?**
- If the mixture isn’t holding together well, simply add a bit more water, one teaspoon at a time.
5. **Can I bake them in an air fryer?**
- Yes, air fryers are a great way to make these! Adjust the temperature to about **160°C (320°F)** and check for doneness after **15 minutes**.
6. **How do I make these crackers thicker?**
- Roll the dough out a bit thicker, but keep in mind they won’t get as crisp. It’s a trade-off!
7. **Can I use different types of oats?**
- Yes! Steel-cut oats will work, but they may lead to a different texture. Rolled oats are best for a light crunch.
8. **What should I serve with these crackers?**
- Enjoy them with dips like hummus or guacamole, or simply pair with your favorite cheese for a savory snack.
9. **Can I add seeds to the dough?**
- Absolutely! Flaxseeds, chia seeds, or sesame seeds can be an excellent addition for extra nutrition and crunch.
10. **How long do these crackers last?**
- Left uneaten, they can last about **one week** at room temperature or up to **two months** in the freezer.

## Conclusion
These **Chickpea Crackers** are not just a recipe; they're a tasty journey that blends nostalgia with healthy eating. You can indulge guilt-free while enjoying the crunch and flavor that these crackers bring to the table. I encourage you to give them a try and let the crispy goodness bring a smile to your face—just like they did for me!
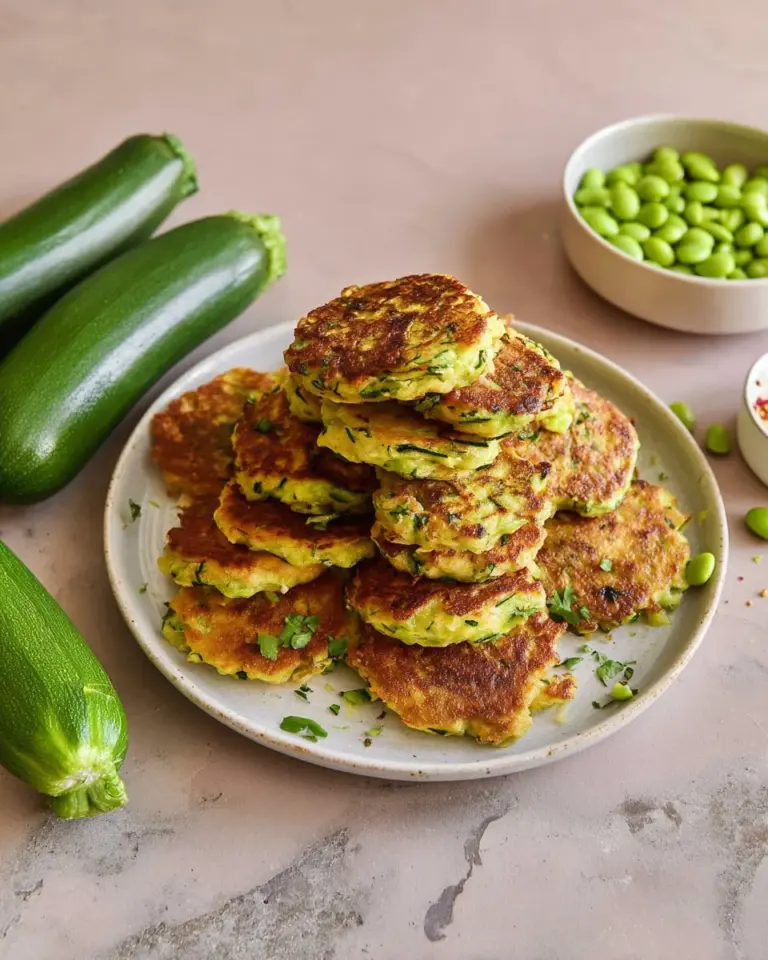
I’d love to hear your feedback and any variations you try out! And if you’re looking for more deliciously healthy recipes, don’t miss my posts on homemade kale chips and zucchini fritters. Happy snacking!

Chickpea Crackers
These homemade chickpea crackers are a healthy and delicious snack packed with protein and fiber, perfect for dipping or munching on their own.
Ingredients
Method
Preparation
- Preheat your oven to 160 degrees Celsius (320 degrees Fahrenheit) and line a baking tray with baking paper.
- In a food processor, combine the chickpeas, rolled oats, nut butter, basil, onion powder, and salt. Blend for about 2 minutes until the chickpeas are finely mashed and the mixture forms a dough.
- If the mixture seems dry, add a small splash of water and pulse to combine.
- Divide the dough into 4 to 5 portions, roll each portion out thinly, and cut into desired shapes.
Baking
- Transfer the shaped crackers to the prepared baking tray and bake for 25 minutes or until they are lightly golden and crisp.
- Let the crackers cool completely before serving.
Notes
Store crackers in an airtight container for 1 to 2 weeks, or freeze for up to 2 months. Pop them back in the oven briefly to refresh their crispness.